Integrating with Salesforce
Last updated: April 6, 2026
This is an enterprise-only feature. Interested in upgrading to an enterprise plan? Email the team at mutinylovesyou@mutinyhq.com to get plan upgrade information.
This article will walk you through setting up your Salesforce integration. Before getting started, we recommend checking out the integration overview article to understand how Mutiny uses your Salesforce data:📄 Salesforce Integration Overview
Setting up your integration user
Note: The user selected for the integration must have a standard Salesforce user license and not an Integration user license.
Before we get started on the integration, you'll want to set up an integration user in Salesforce. You'll need to connect an org-level Salesforce user to Mutiny, which is the primary connection for Salesforce API calls and syncing data between Mutiny and Salesforce. All data pulls and pushes between Mutiny and Salesforce are made using this account.
We strongly recommend creating a dedicated, Mutiny-only Integration User with a fine-grained permission set. This enables more robust reporting because it ensures all record changes by Mutiny are properly attributed to Mutiny.
You may prefer to connect a Shared Integration User or use an existing Individual User. Here’s more about each:
SetupProsCons | ||
Dedicated, Mutiny-only Integration User | This is best practice and our recommended option. The user is granted precise permissions and all updates made within Salesforce are clearly attributable to Mutiny. | This requires use of a dedicated Salesforce User license, which may require time to set up at your company. |
Shared Integration User with other connected apps | This might be a better choice if you already use an Integration User with other connected apps. You don’t need to provision a new user. | Mutiny must share the permissions and limits of the Shared Integration User. If this user’s access is shut down, all connected apps will be impacted. |
Existing Individual User with system admin permissions | This is typically the fastest and most affordable option because you use an Individual User that already exists in your Salesforce. There’s no need to create anything new. | If the user leaves the company, the connection will break. Mutiny is given full system access and edits made within Salesforce are attributed to the Individual User. |
Permissions
You'll want to ensure that the Salesforce user you have set up has the following permissions. If you're unsure where to set these permissions, you should contact your Salesforce administrator or see this Salesforce help article+
User Configuration:
User should be set to a Marketing User
User should have offline access enabled
Refresh Token permissions should be enabled
Permissions for ingestion of data from Salesforce to Mutiny:
Account: READ
Contact: READ
Lead: READ
Opportunity: READ
Include Opportunity History and Opportunity Field History
User: READ (For Account Ownership matching)
Campaign: READ (For list building)
Campaign Member: READ (For list building)
For writing links from Mutiny to SFDC:
Account: WRITE
Contact: WRITE
Lead: WRITE
Opportunity: WRITE
Field level security:
If you utilize field level security, ensure that the user has READ access to any fields you want to pull into Mutiny.
To inspect multi-currency setup (used in revenue reporting):
multiCurrencyfield on Org (through org-connect): READCurrencyType: READ
IP whitelist:
If your SFDC instance has IP whitelisting enabled, be sure to whitelist the Mutiny IP:
52.70.239.199
Setting up the integration in Mutiny
Once you've set up your integration user, you can head over to Mutiny to authorize the integration.
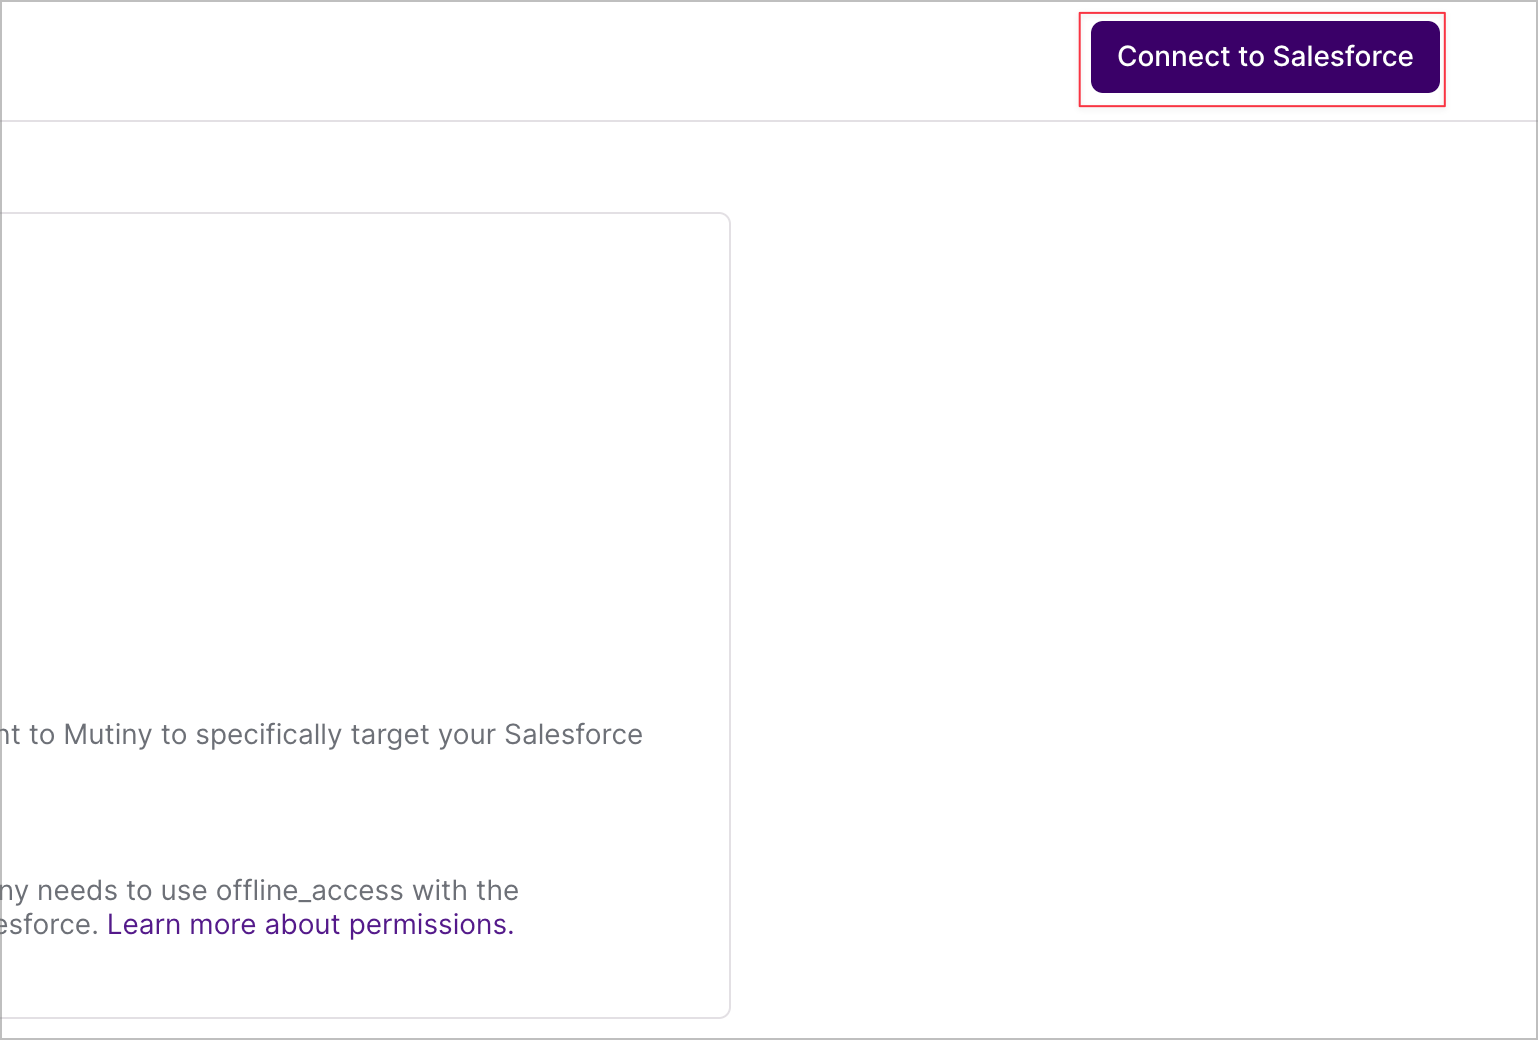
Connect to Salesforce
Navigate to https://app.mutinyhq.com/integrations and click on the Salesforce card. Then, select "Connect to Salesforce" in the top right.
From there, you'll be taken to a page where you can login to Salesforce. Be sure to login using the user you set up earlier.
Select the objects you'd like to pull into Mutiny (No custom objects can be synced to Mutiny). We recommend starting with the Accounts object, and then you can map the other objects afterwards. You can learn more about what Mutiny does with this data here.

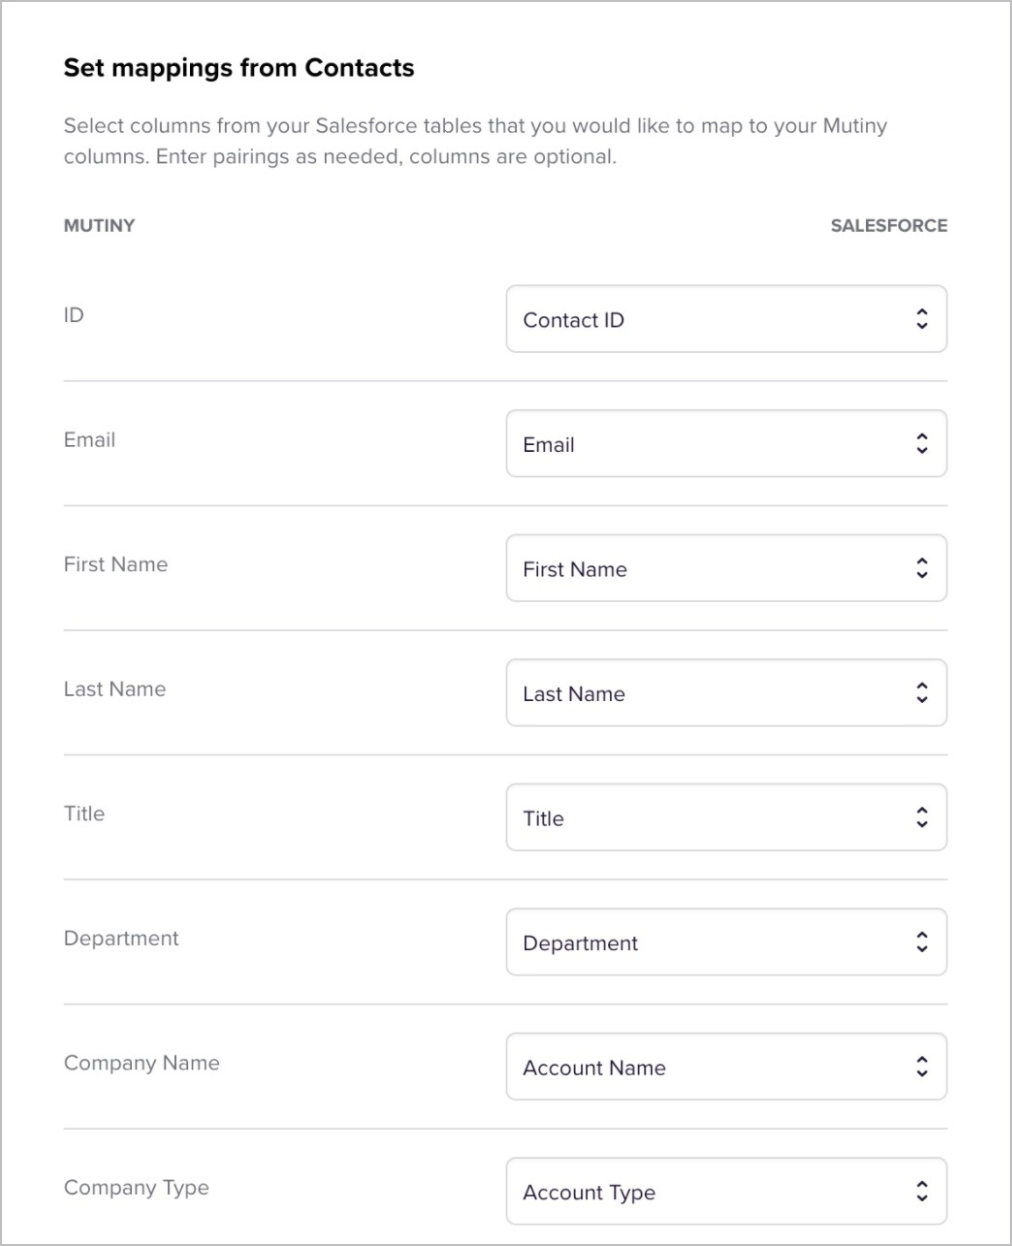
Now you'll want to map the columns that you want to bring into Mutiny. Mutiny maps a number of columns by default, but you can always add in more. You'll also have the option to revisit this mapping later on if you choose to add or remove data.
Need Help?
If you have questions or need help, the Mutiny Support team is here for you! You can submit a support ticket using the Submit a ticket button at the top of this page, or reach us at support@mutinyhq.com.