Mutiny Tour
Last updated: April 7, 2026
When you first access Mutiny, you'll see a simplified interface designed to help you quickly create beautiful, on-brand go-to-market assets. This guide walks you through the core components of the Mutiny platform.
Understanding the Main Navigation
The navigation bar is split into two sections: everything you need for building assets, and two pages under "Context" that help ensure your assets stay on-brand.
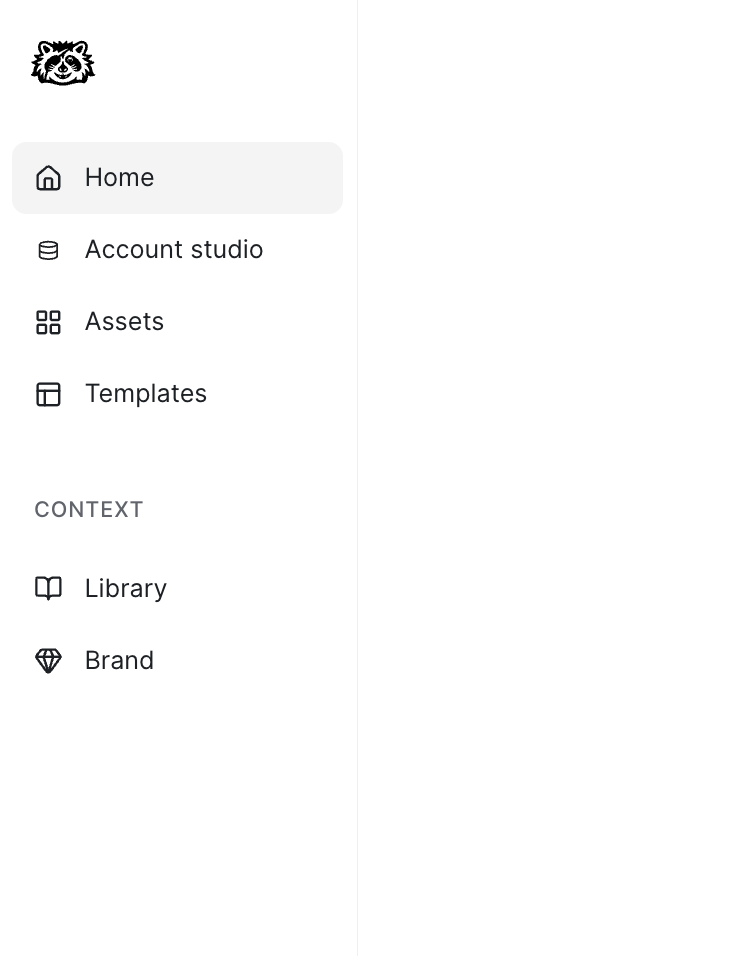
Home
The Home page is your starting point for creating new assets. In Mutiny, an asset is any page or piece of content you create, a personalized landing page for a target account, an event invite, a call follow-up, or anything you'd send to a prospect or customer.
From this page, you can start from an existing template, use a Mutiny-created blueprint, or describe what you want to build in the prompt box and let the Creative Agent handle the rest.

Assets
The Assets page is your central hub for everything you've built in Mutiny. From here, you get a bird's-eye view of all your assets. You can filter by creator, publish status, or last edited date, and toggle between card and list view.
Each asset displays a few analytics highlights, including total views and page clicks.

Templates
The Templates page is where you store and access reusable asset templates. Templates help you maintain a consistent look and feel across asset types.
For example, if your team frequently creates call follow-up assets, you can save one as a "Call follow-up" template for others to use as a starting point.
You can create templates from scratch or save an existing asset as a template.

Learn more here:📄 Templates Deep Dive
Library
The Library is where you store content the Creative Agent can reference when building assets. This includes case studies, blog posts, PDFs, product pages, and images from your website.
Mutiny automatically scrapes your site and populates the Library with your existing content. You can also add resources manually. The more content you have here, the more context the Creative Agent has when personalizing your assets.

Learn more here:📄 How to Setup and use the Library
Brand
The Brand page is where Mutiny stores your style guidelines. This includes rules for fonts, colors, typography, and button styles, as well as crafted brand guidelines the Creative Agent will follow. Mutiny automatically pulls in your brand from your website, so everything you create maintains a consistent look and feel.


Learn more here:📄 Managing your Brand in Mutiny
Account Studio
This is an enterprise-only feature. Interested in upgrading to an enterprise plan? Email the team at mutinylovesyou@mutinyhq.com to get plan upgrade information.
Depending on your plan, you may have access to Account Studio. This is where your account data lives. Accounts can be pulled in from your CRM or uploaded as a spreadsheet, and each account can be enriched with AI research.
When you connect an account list to an asset, Mutiny uses that data to personalize the experience, swapping in company names, industries, priorities, or any other data you have on the account.
Learn more about Account Studio here: Account Studio Docs
Need Help?
If you have questions or need help, the Mutiny Support team is here for you! You can submit a support ticket by clicking Submit a ticket at the top of the page, or reach us at support@mutinyhq.com.