Once you create your Outbound Experience and have the CSV export with links, let's get them into your automation tools for distribution. Below is a menu with some of the most common automation tools, expand the menu for your tool to find instructions on uploading CSVs.
Uploading a CSV to Salesloft
Step 1: Set up custom fields
- Create custom fields to set up for your outbound links
- For more information on how to set up your custom fields, please refer to Salesloft’s official guide
Step 2: Navigate to the People or Accounts Page
- In the main menu, go to People or Accounts, depending on what type of data you're importing
Step 3: Click on "Import"
- On the People or Accounts page, look for the Create People button or Create Account (in the top right corner).
Step 4: Upload the CSV
- Choose the CSV Import option and select the CSV you’d like to import
Step 5: Map the Fields
- Salesloft will ask you to map the fields in your CSV to Salesloft's fields. For instance, ensure that your CSV column labeled "First Name" maps to the "First Name" field in Salesloft.
- You can also use saved field mapping if you have done imports before.
Step 6: Import the Data
- Once the fields are mapped correctly, click on Next or Import.
- Salesloft will begin importing the data, and you'll receive a notification once it’s complete.
For full details, visit Salesloft's official guide.
Uploading a CSV to Outreach
Step 1: Log Into Outreach
-
Action:
- Go to Outreach.io and log into your account using your credentials.
- After logging in, you’ll land on the Outreach dashboard.
Step 2: Navigate to the Settings
-
Action:
- On the left-hand side of the dashboard, click the gear icon at the bottom of the navigation bar to access the Settings page.
Step 3: Start the CSV Import Process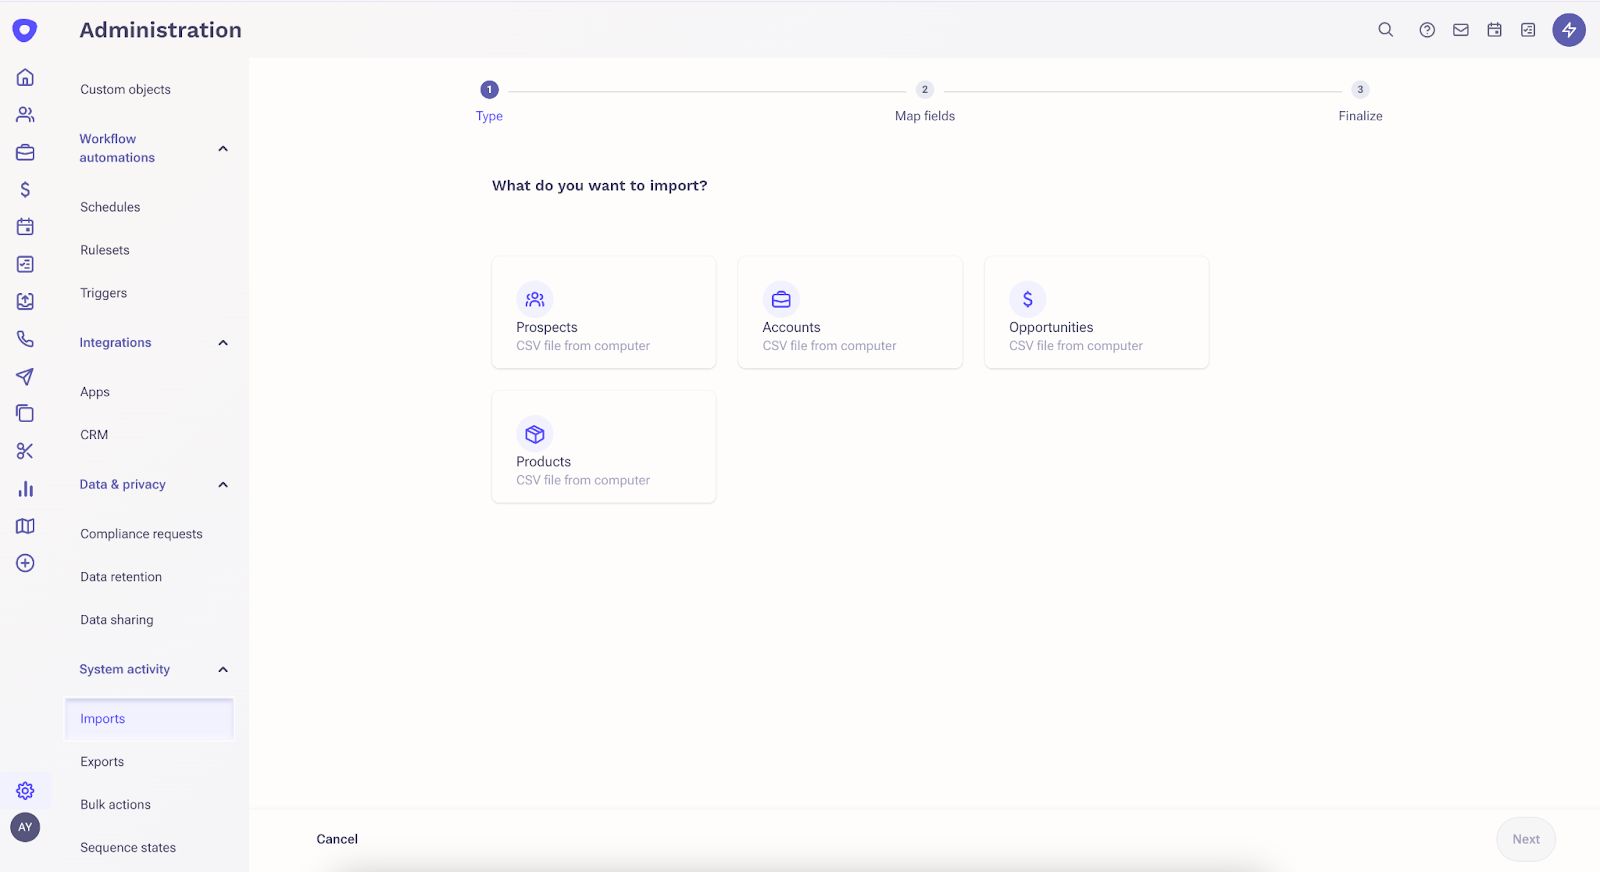
-
Action:
- In the Settings page, locate the System Activity section in the sidebar, select Imports, and then click Import.
- This will prompt you to choose the CSV file from your computer depending on what kind of data you are importing (e.g., Prospects, Accounts, or Opportunities).
Step 4: Map the Fields in Outreach
-
Action:
- After uploading the CSV, Outreach will show a screen asking you to map the columns in your CSV to fields in Outreach.
- For example:
- First Name → First Name
- Email Address → Email
- Phone Number → Phone Number
-
Tips:
- Review the mapping suggestions that Outreach provides, and make sure everything aligns with your CSV.
- If you have custom fields in your CSV (like Outbound Links), you can map those to custom fields in Outreach as well.
Step 5: Complete the Import
-
Action:
- Once everything is mapped correctly and you've resolved any issues, click Next or Import to finalize the process.
- Outreach will begin importing the data, and depending on the file size, this may take a few minutes.
Step 6: Verify the Imported Data
-
Action:
- After the import is complete, you’ll receive a notification that the process has finished.
- Navigate to the Prospects or Accounts section (whichever you imported) to verify that the data was successfully uploaded.
-
Notes:
- Search for a few records to ensure the data was correctly imported, especially the email addresses, names, and custom fields.
- If there are any issues, you can correct the data directly in Outreach or re-upload a new CSV with the corrections.
Uploading a CSV to Hubspot
Step 1: Prepare Your CSV File
- Ensure your CSV file contains at least the following columns:
- Contact Information (First Name, Last Name, Email, etc.)
- Outbound Link (This is the column where the Outbound links are stored)
- The first row of your CSV should be the column headers (e.g., First Name, Last Name, Email, Link).
Step 2: Log into HubSpot
- Go to HubSpot and log into your account using your credentials.
Step 3: Navigate to Import Tool
- Once logged in, go to Contacts > Contacts in the left navigation bar.
- In the upper-right corner, click on the Import button.
Step 4: Select the Import Type
- On the import screen, click Start an Import.
- Choose the File from Computer option, since you are uploading a CSV file.
Step 5: Upload Your CSV
- Click on Upload file, and select the CSV file with your links from your computer.
Step 6: Map Your Fields
- HubSpot will automatically attempt to map your CSV columns to existing fields in your contact records. However, you’ll need to manually map the Link column from your CSV to a custom field in HubSpot if one doesn’t exist yet.
Step 7: Create a Custom Property for Links
- If the Link column doesn't match any existing HubSpot field, you’ll need to create a new custom property for it:
- Go to Settings > Data Management > Properties.
- Click Create Property.
- Choose the object type (Contacts), and name it something like "Outbound Link."
- Choose the field type as Single line text (since the links are URLs).
- Save the property, and return to the field mapping screen.
- Map the Link column in your CSV to the custom property you just created.
Step 8: Review and Import Data
- After mapping all your fields (First Name, Email, Link, etc.), review your import settings.
- Click Finish Import to upload the data.
- HubSpot will notify you when the import is complete, and your links will now be associated with the appropriate contacts.
Step 9: Verify the Import
- Go to your Contacts list and verify that the Link field has been properly filled for the imported contacts.
Helpful HubSpot Documentation
Uploading a CSV to Marketo
Step 1: Prepare Your CSV File
- Ensure your CSV contains at least the following columns:
- Lead or Contact information (e.g., First Name, Last Name, Email, etc.)
- Link (this will be the URL linking to your experience for each contact).
- The first row should contain the headers (e.g., First Name, Last Name, Email, Link).
Step 2: Log Into Marketo
- Go to Marketo and log into your account.
Step 3: Create or Select a List
- In Marketo, navigate to Lead Database.
- If you already have a list where you want to upload your leads, select it. If not:
- Right-click on Group Lists (or your preferred folder) in the left-hand panel.
- Click New Smart List or New Static List to create a new list where the leads with links will be added.
- Name the list (e.g., “Outbound Leads”).
Step 4: Import Leads
- Once your list is selected or created, click on Import List in the top bar.
- Choose Upload a CSV File and select the CSV file you prepared.
Step 5: Map Fields
- Marketo will try to automatically map the columns in your CSV to the corresponding fields in Marketo. Review the mappings.
-
Creating a Custom Field for Outbound Link:
- If the Link column doesn’t automatically map, you’ll need to create a custom field in Marketo:
- Go to Admin > Field Management.
- Click New Custom Field.
- Choose a Field Type like String or Text (since the link is a URL).
- Name the field something like “Outbound Link.”
- Once the custom field is created, return to the import screen and map the Link column from your CSV to this newly created field.
- If the Link column doesn’t automatically map, you’ll need to create a custom field in Marketo:
Step 6: Import and Confirm
- After mapping the fields, proceed by clicking Next or Import.
- Marketo will begin the import process, and you’ll be notified once the import is complete.
Step 7: Verify the Import
- After the import, go to the Leads section, filter by the list you created or the list where the leads were imported, and check the field “Link” to ensure the links were uploaded correctly.
Helpful Marketo Documentation
For further details, you can refer to the following Marketo documentation:
Uploading a CSV to Apollo
Step 1: Prepare Your CSV File
- Make sure your CSV is properly formatted with the necessary columns:
- Contact information (e.g., First Name, Last Name, Email).
- Link (this is the URL you want to associate with each contact).
- Ensure the first row contains the headers (e.g., First Name, Last Name, Email, Link).
Step 2: Log Into Apollo
- Go to Apollo.io and log into your account.
Step 3: Navigate to the Contacts Section
- In the left-hand menu, navigate to Contacts or Accounts. This is where you will manage your contact and account list and perform the CSV upload.
Step 4: Start the Import Process
- Click on the Import button.
- Select CSV as the import method
- Browse your computer for the CSV file you prepared and select it for upload.
Step 5: Map Your CSV Fields
- Apollo will attempt to auto-map the fields in your CSV to existing fields in Apollo (such as First Name, Last Name, Email).
-
Adding a Custom Field for Links:
- If Apollo does not automatically detect a field for Links, you may need to create a custom field:
- In the field mapping screen, look for an option to create a new custom field.
- Name the field something like "Link" and select the field type (e.g., Text or URL).
- Map your Link column to this custom field.
- If Apollo does not automatically detect a field for Links, you may need to create a custom field:
Step 6: Complete the Import
- Once the fields are mapped, proceed with the import by clicking Next or Finish.
- Apollo will process the CSV file, and the links will be uploaded and associated with the respective contacts.
Step 7: Verify the Imported Data
- After the import is complete, go back to the Contacts section.
- Use the filters or search bar to find a few contacts and verify that the Link field is populated correctly.
Helpful Apollo Documentation
Uploading a CSV to Salesforce
You can write the links directly to Salesforce through the Mutiny integration. Use these instructions if you are not writing them directly and want to upload via CSV instead.
Step 1: Prepare Your CSV File
- Ensure your CSV contains the following columns:
- Contact or Lead information (e.g., First Name, Last Name, Email).
- Link (URLs for the experience).
- The first row should contain the column headers (e.g., First Name, Last Name, Email, Link).
Step 2: Log into Salesforce
- Go to Salesforce and log into your account using your credentials.
Step 3: Create or Identify a Custom Field for Outbound Links
- If you don’t have a Link field, you will need to create a custom field in Salesforce to hold the link for each contact or lead.
- Navigate to Setup (gear icon in the top right).
- Under Object Manager, select Contacts or Leads (depending on where you want to store the links).
- Click on Fields & Relationships.
- Select New to create a custom field.
- Choose the field type URL for storing the link.
- Name it something like "Outbound Link".
- Save the field, ensuring it is visible to the relevant profiles.
Step 4: Go to the Data Import Wizard
- In Salesforce, navigate to the Data Import Wizard:
- Click the App Launcher (grid icon in the top left) and search for Data Import Wizard.
- Click on Launch Wizard.
- Select the Standard Objects (e.g., Leads, Contacts) that you are importing.
Step 5: Upload Your CSV File
- Choose the CSV file from your computer that contains the links along with the contact/lead information.
Step 6: Map Your Fields
- Salesforce will prompt you to map the columns from your CSV to fields in Salesforce.
- Map the First Name, Last Name, Email columns to the corresponding fields in Salesforce.
- Map the Link column to the custom field you created earlier.
- If Salesforce automatically maps some fields, review the mapping to ensure accuracy.
Step 7: Start the Import
- Once all the fields are mapped correctly, click Next and then Start Import.
- Salesforce will process the CSV file, and the links will be uploaded and associated with the corresponding contacts or leads.
Step 8: Verify the Import
- After the import is complete, navigate to the Contacts or Leads tab in Salesforce.
- Search for some of the records you imported and verify that the Link field is populated correctly.
Helpful Salesforce Documentation
- Salesforce Data Import Wizard Overview
- How to Create Custom Fields in Salesforce
- Mapping Fields for Data Import in Salesforce
Uploading a CSV to Groove
Step 1: Prepare Your CSV File
- Make sure your CSV file contains the necessary fields, such as:
- Contact information (First Name, Last Name, Email).
- A column for Links (the URLs you want to associate with each contact).
- Ensure that the first row of your CSV contains the appropriate headers (e.g., First Name, Last Name, Email, Link).
Step 2: Log Into Groove
- Go to Groove and log in with your credentials.
Step 3: Go to the Import Tool
- In Groove, navigate to the Settings page by clicking on your profile icon or gear icon in the top-right corner.
- Scroll down and look for the Data Management section, where you will find the Import CSV option.
Step 4: Upload Your CSV
- Click on Import CSV and choose the CSV file containing your contact details and links.
- Groove will ask you to choose the type of object you are importing (usually Contacts or Leads, depending on where you want the links associated).
Step 5: Map Your Fields
- Groove will then prompt you to map the fields in your CSV file to the appropriate fields in Groove.
- First Name, Last Name, Email → Map these to the corresponding fields in Groove.
-
Link → If you haven’t created a custom field for storing outbound links in Groove, you’ll need to create one:
- In the mapping window, click on the option to create a new field.
- Choose Text or URL as the field type, name it something like "Outbound Link."
- Map the Link column in your CSV to this new custom field.
Step 6: Complete the Import
- After you map all the fields correctly, proceed with the import.
- Groove will upload the contacts and associate the links with the records.
Step 7: Verify the Import
- Once the import is complete, go to your Contacts or Leads section in Groove.
- Search for a few contacts to ensure that the Link field has been populated correctly with the URLs.
Uploading a CSV to Gong Engage
Gong Engage does not currently support direct CSV uploads for outbound or microsite links. However, you can still include your Mutiny outbound links in Engage flows by first uploading them into your connected CRM (such as Salesforce or HubSpot). Once the links are stored in a CRM field, they will sync into Gong Engage and can be used in your flows.
Step 1: Prepare CSV file
- Ensure your CSV contains the following columns:
- Contact or Lead information (e.g., First Name, Last Name, Email).
- Link (URLs for the experience).
- The first row should contain the column headers (e.g., First Name, Last Name, Email, Link)
Step 2: Upload CSV into your CRM
Use your CRM’s import tool (like Salesforce Data Import Wizard or HubSpot Import) to add or update records.
Step 3: Let Gong sync the data
Once the contact or lead records are updated in your CRM, Gong will automatically sync the new field during its next CRM sync (typically every 1–2 hours). If your field is not appearing in Gong Engage, double-check your CRM sync settings and field visibility in Gong’s admin panel.
Step 4: Insert as variable
When building an email step in Engage, use Gong’s variable token feature to insert the custom field (e.g. {{contact.custom_field}}) directly into the message.
Need Help?
If you have questions or need help, the Mutiny Support team is here for you! You can submit a support ticket at the bottom of this page or reach us at support@mutinyhq.com.
Related to
Comments
0 comments
Please sign in to leave a comment.