Account Studio Deep Dive
Last updated: April 6, 2026
This is an enterprise-only feature. Interested in upgrading to an enterprise plan? Email the team at mutinylovesyou@mutinyhq.com to get plan upgrade information.
Account Studio is your command center for building and enriching target account lists that power truly personalized assets. This guide walks you through importing accounts, filtering your list, and using AI research to fill data gaps for more effective personalization.
Understanding Data Aggregation
Mutiny aggregates data from multiple sources using the domain as a unique identifier. This means you can combine CSV uploads with your Salesforce or HubSpot data for the same account, giving you maximum flexibility for filtering and personalization across all your data sources.
Learn how these data sources interact with one another here:
Filtering Accounts from Integrated Data Sources
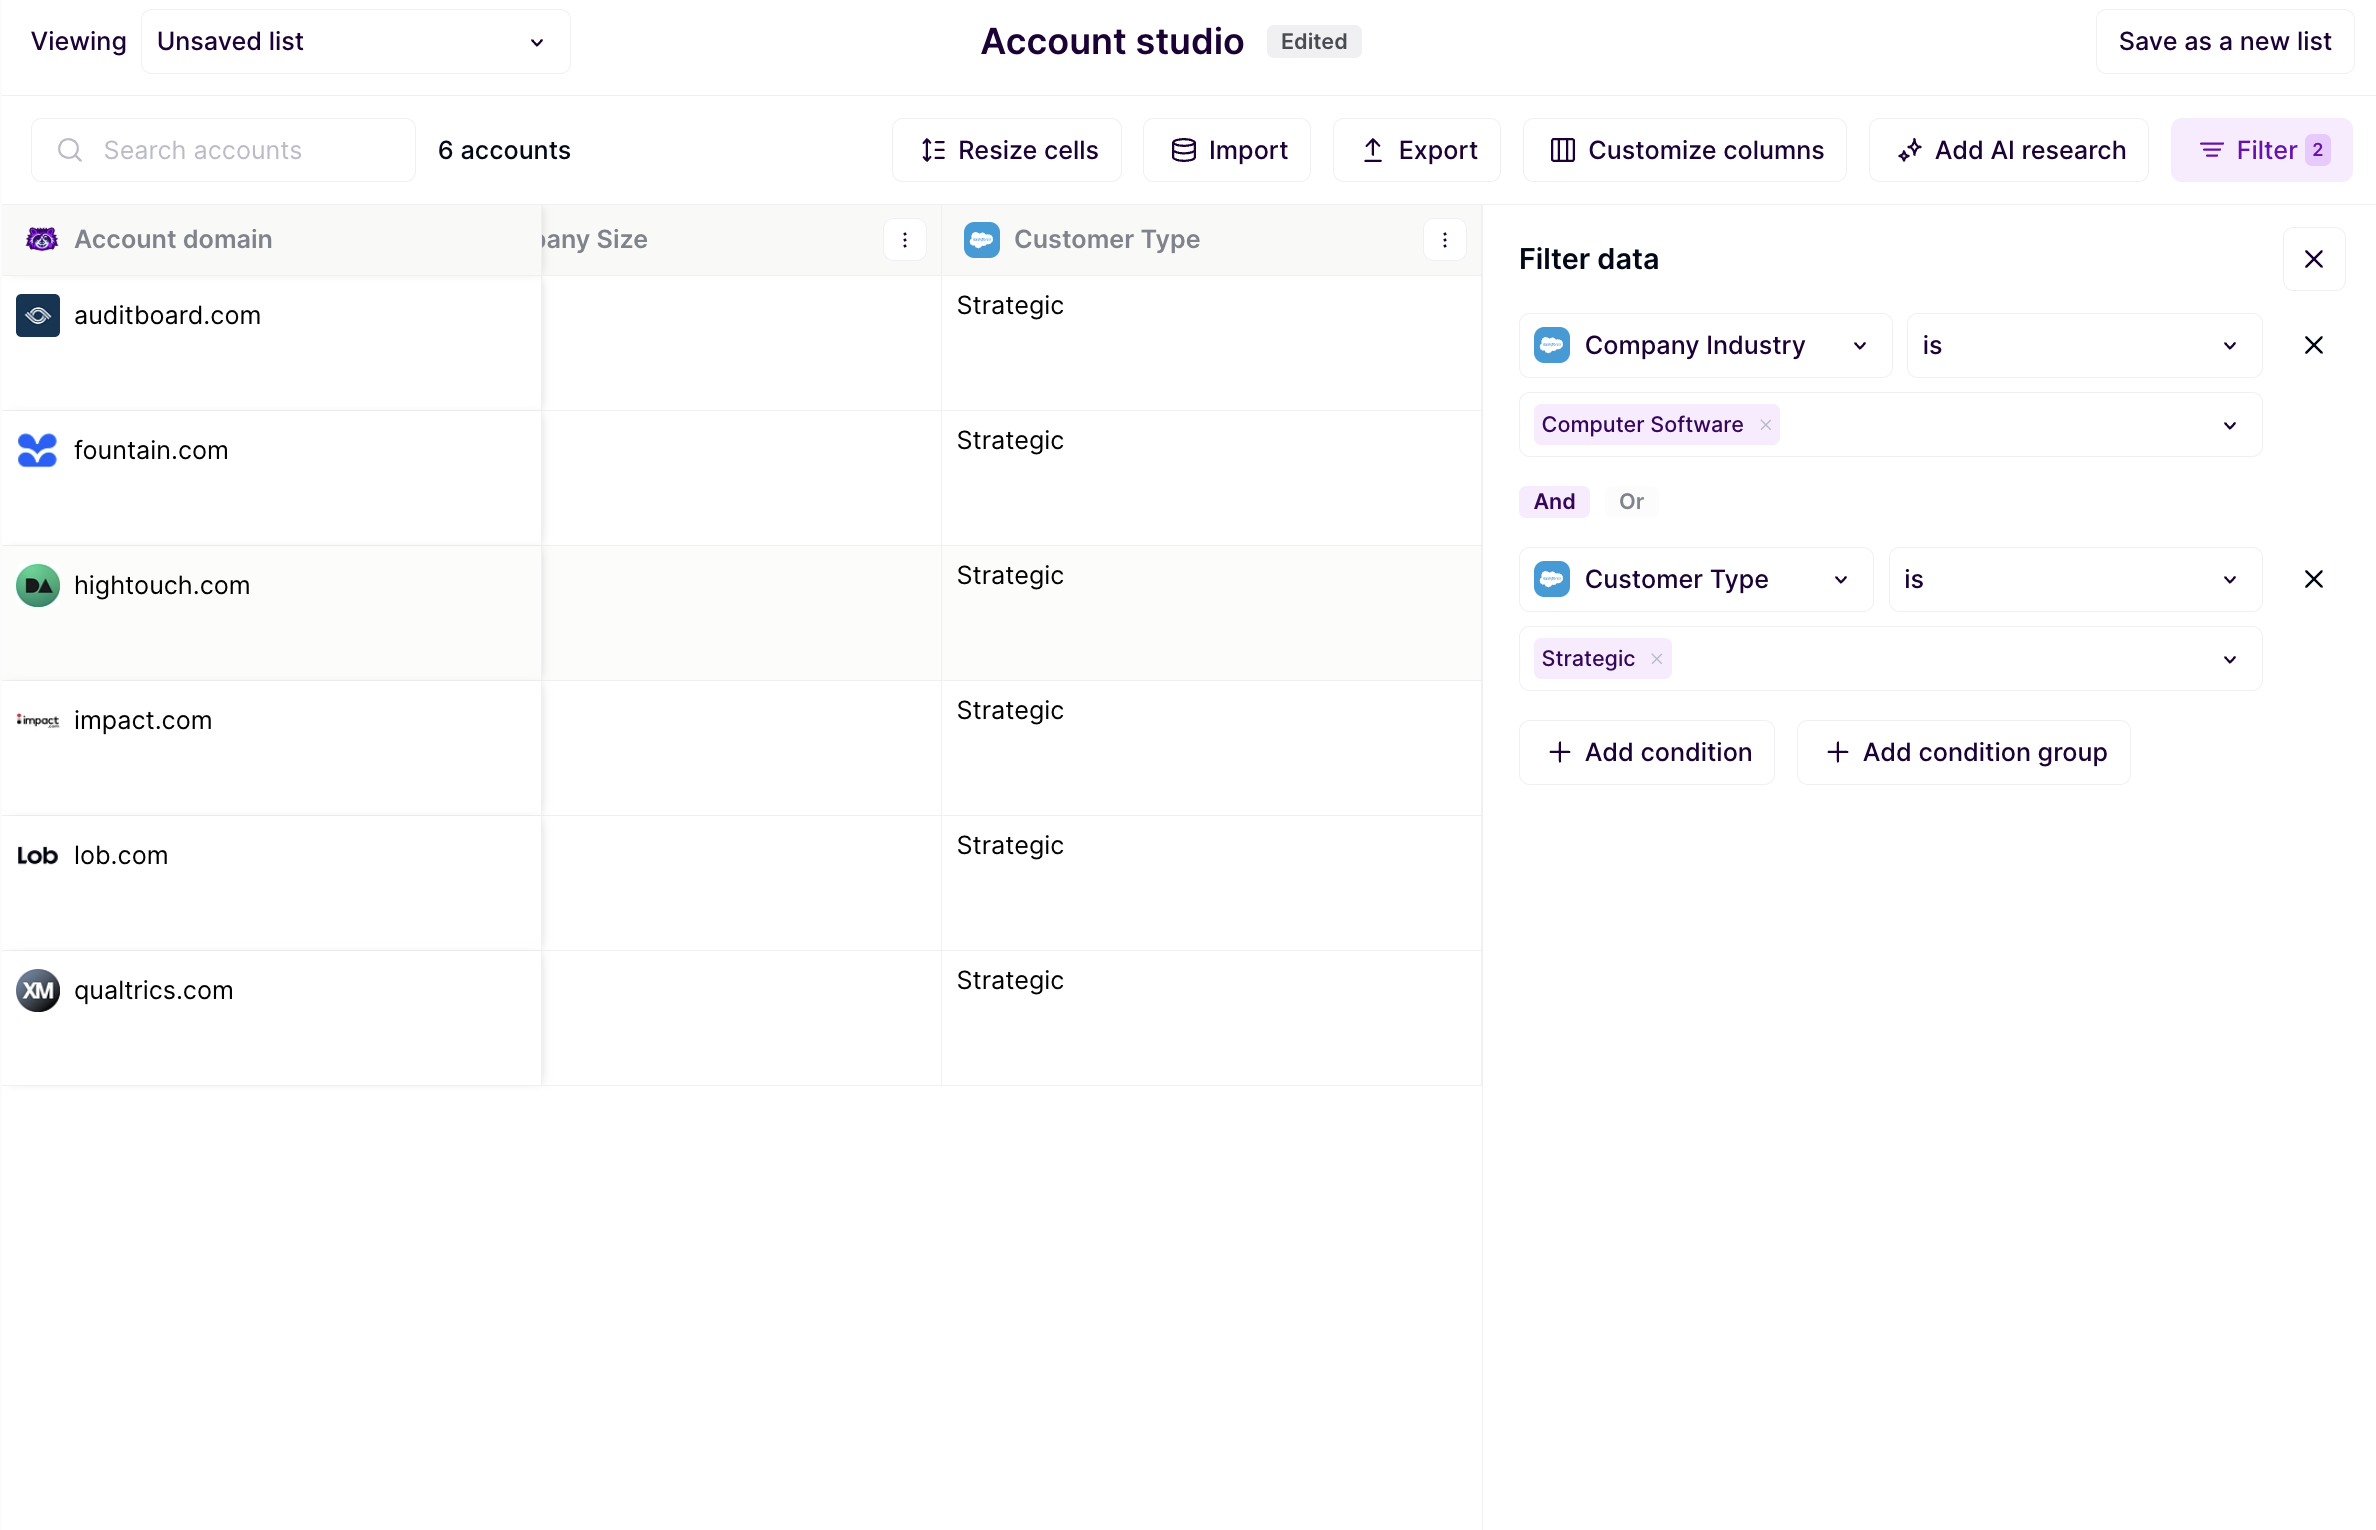
Start by accessing your existing accounts from integrated sources like Salesforce or HubSpot. Add filters based on any mapped attributes to narrow down your target list. For example, filter by industry to find all financial services companies, which might return thousands of accounts.
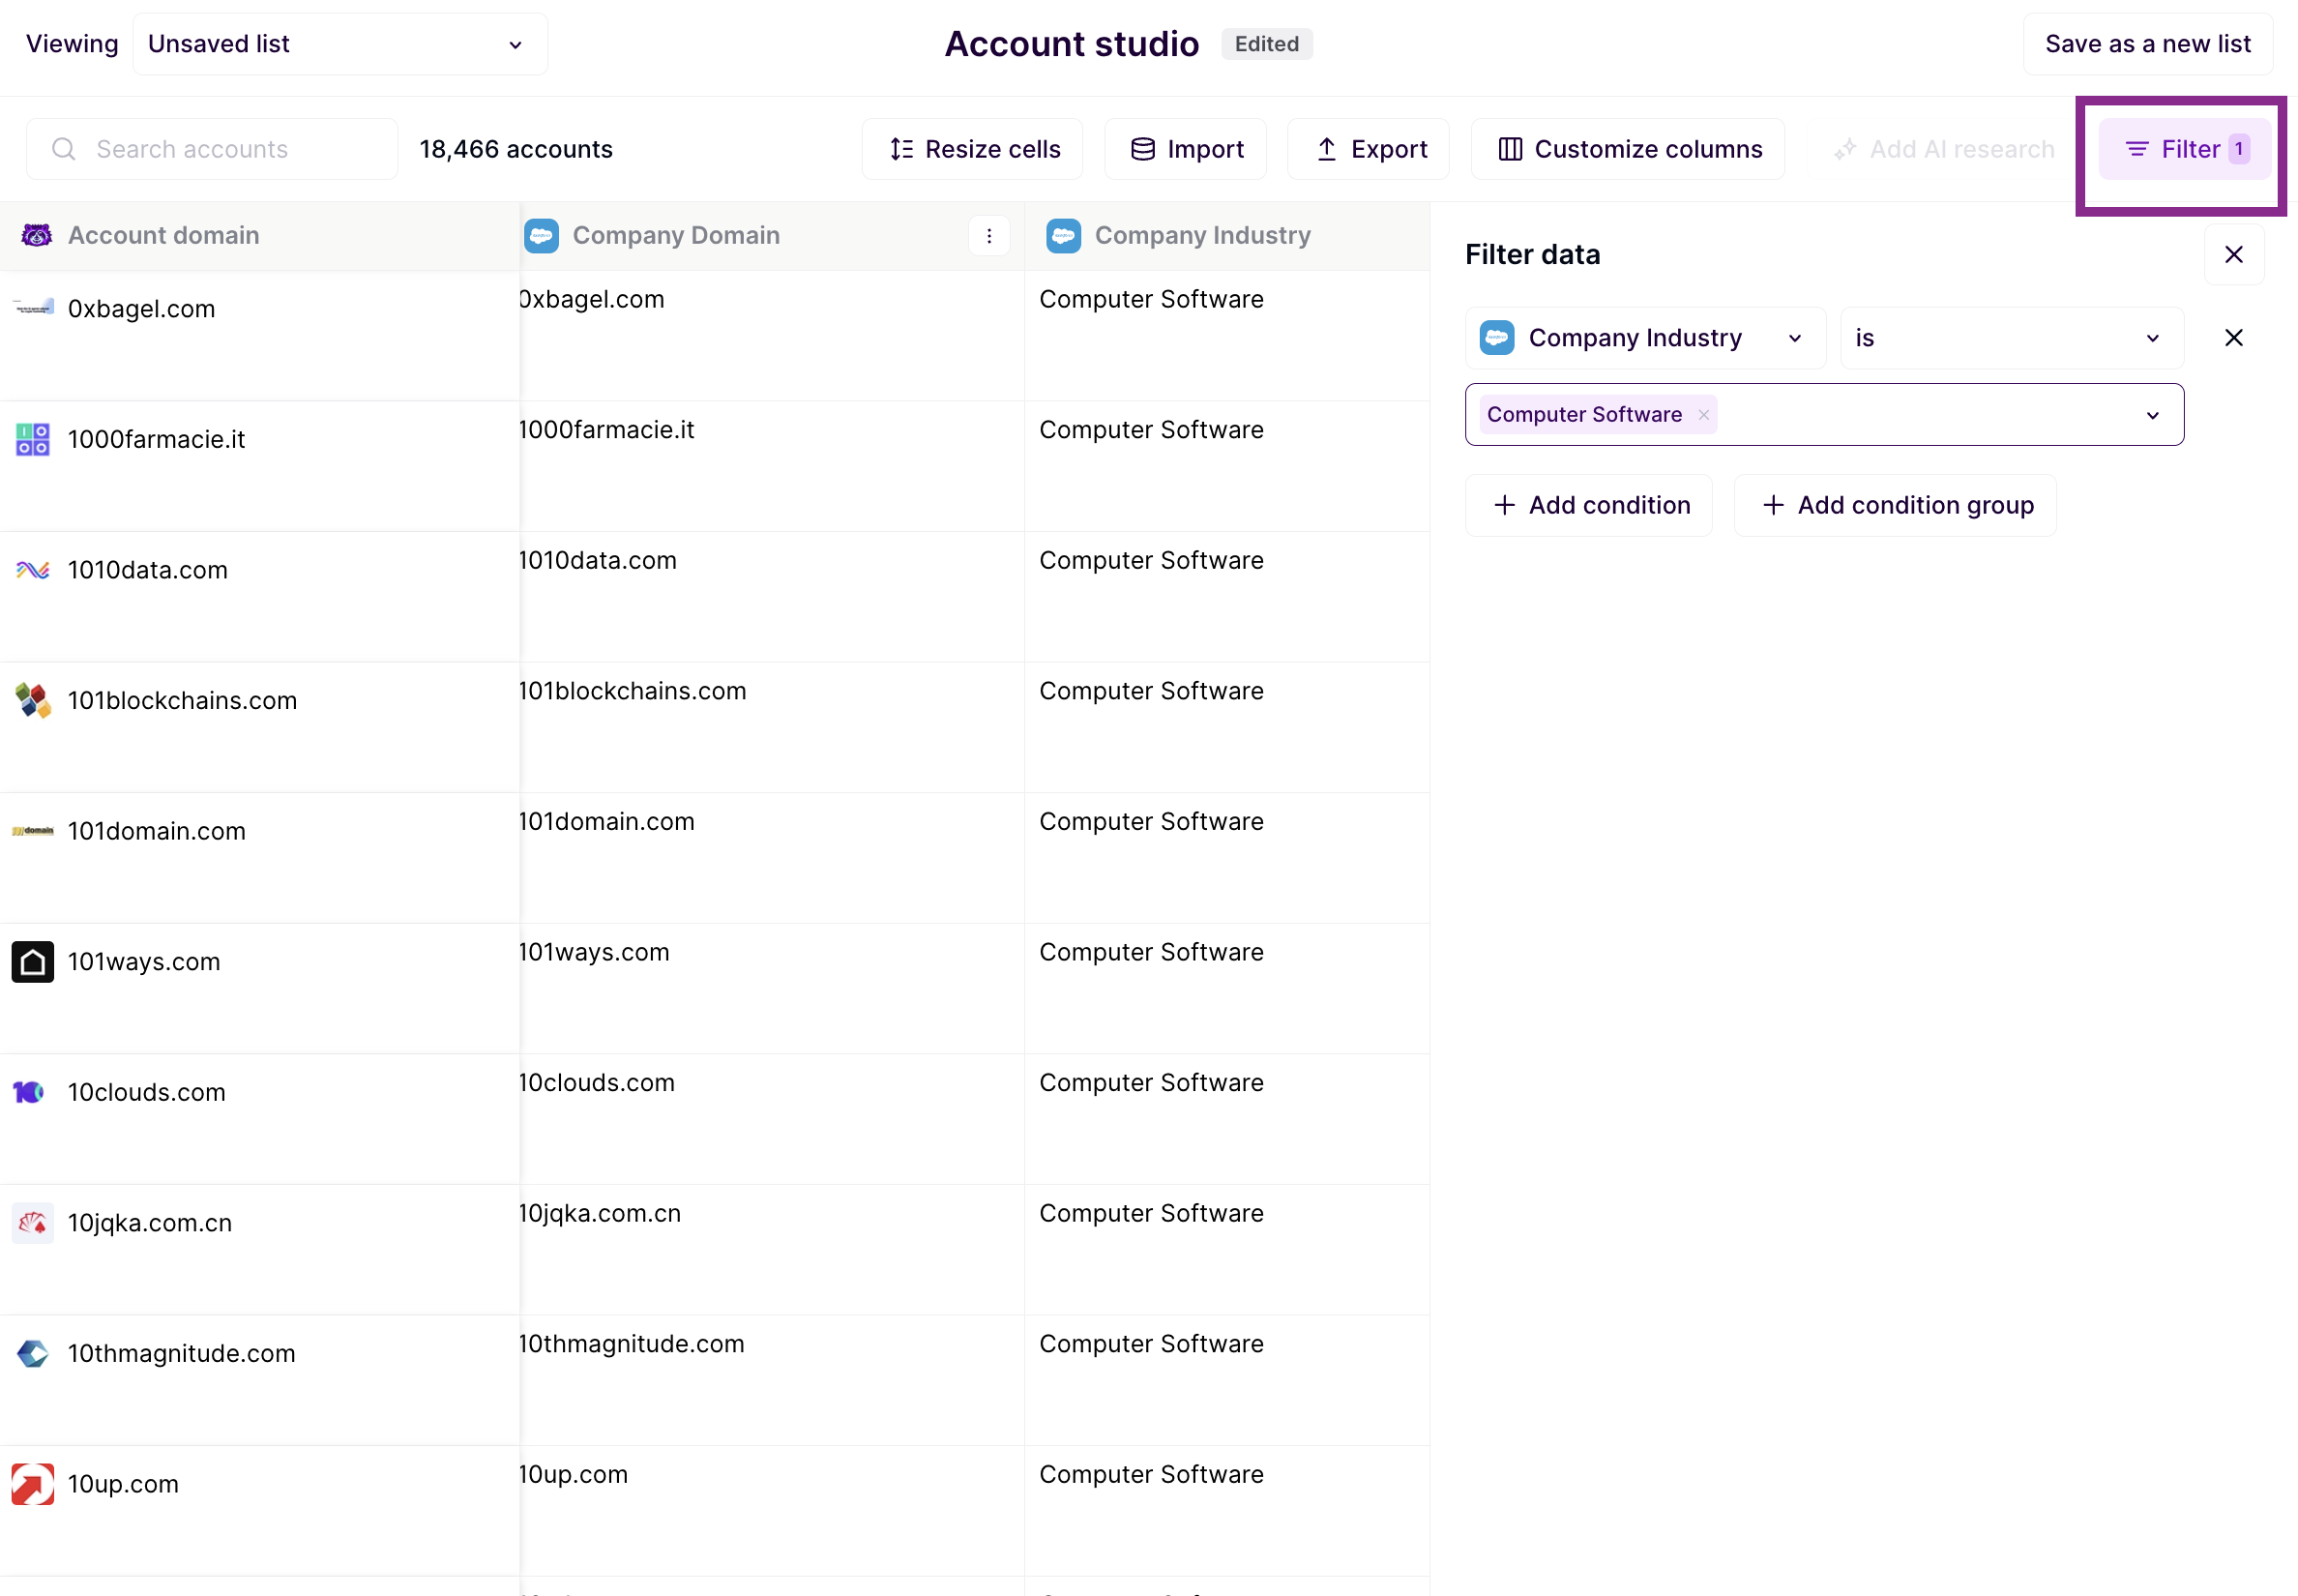
Layer on additional filters using AND or OR conditions to refine further, such as combining industry with account tier to target only A-tier financial services companies. Once you're satisfied with your filtered set, save the list to power your one-to-one asset.
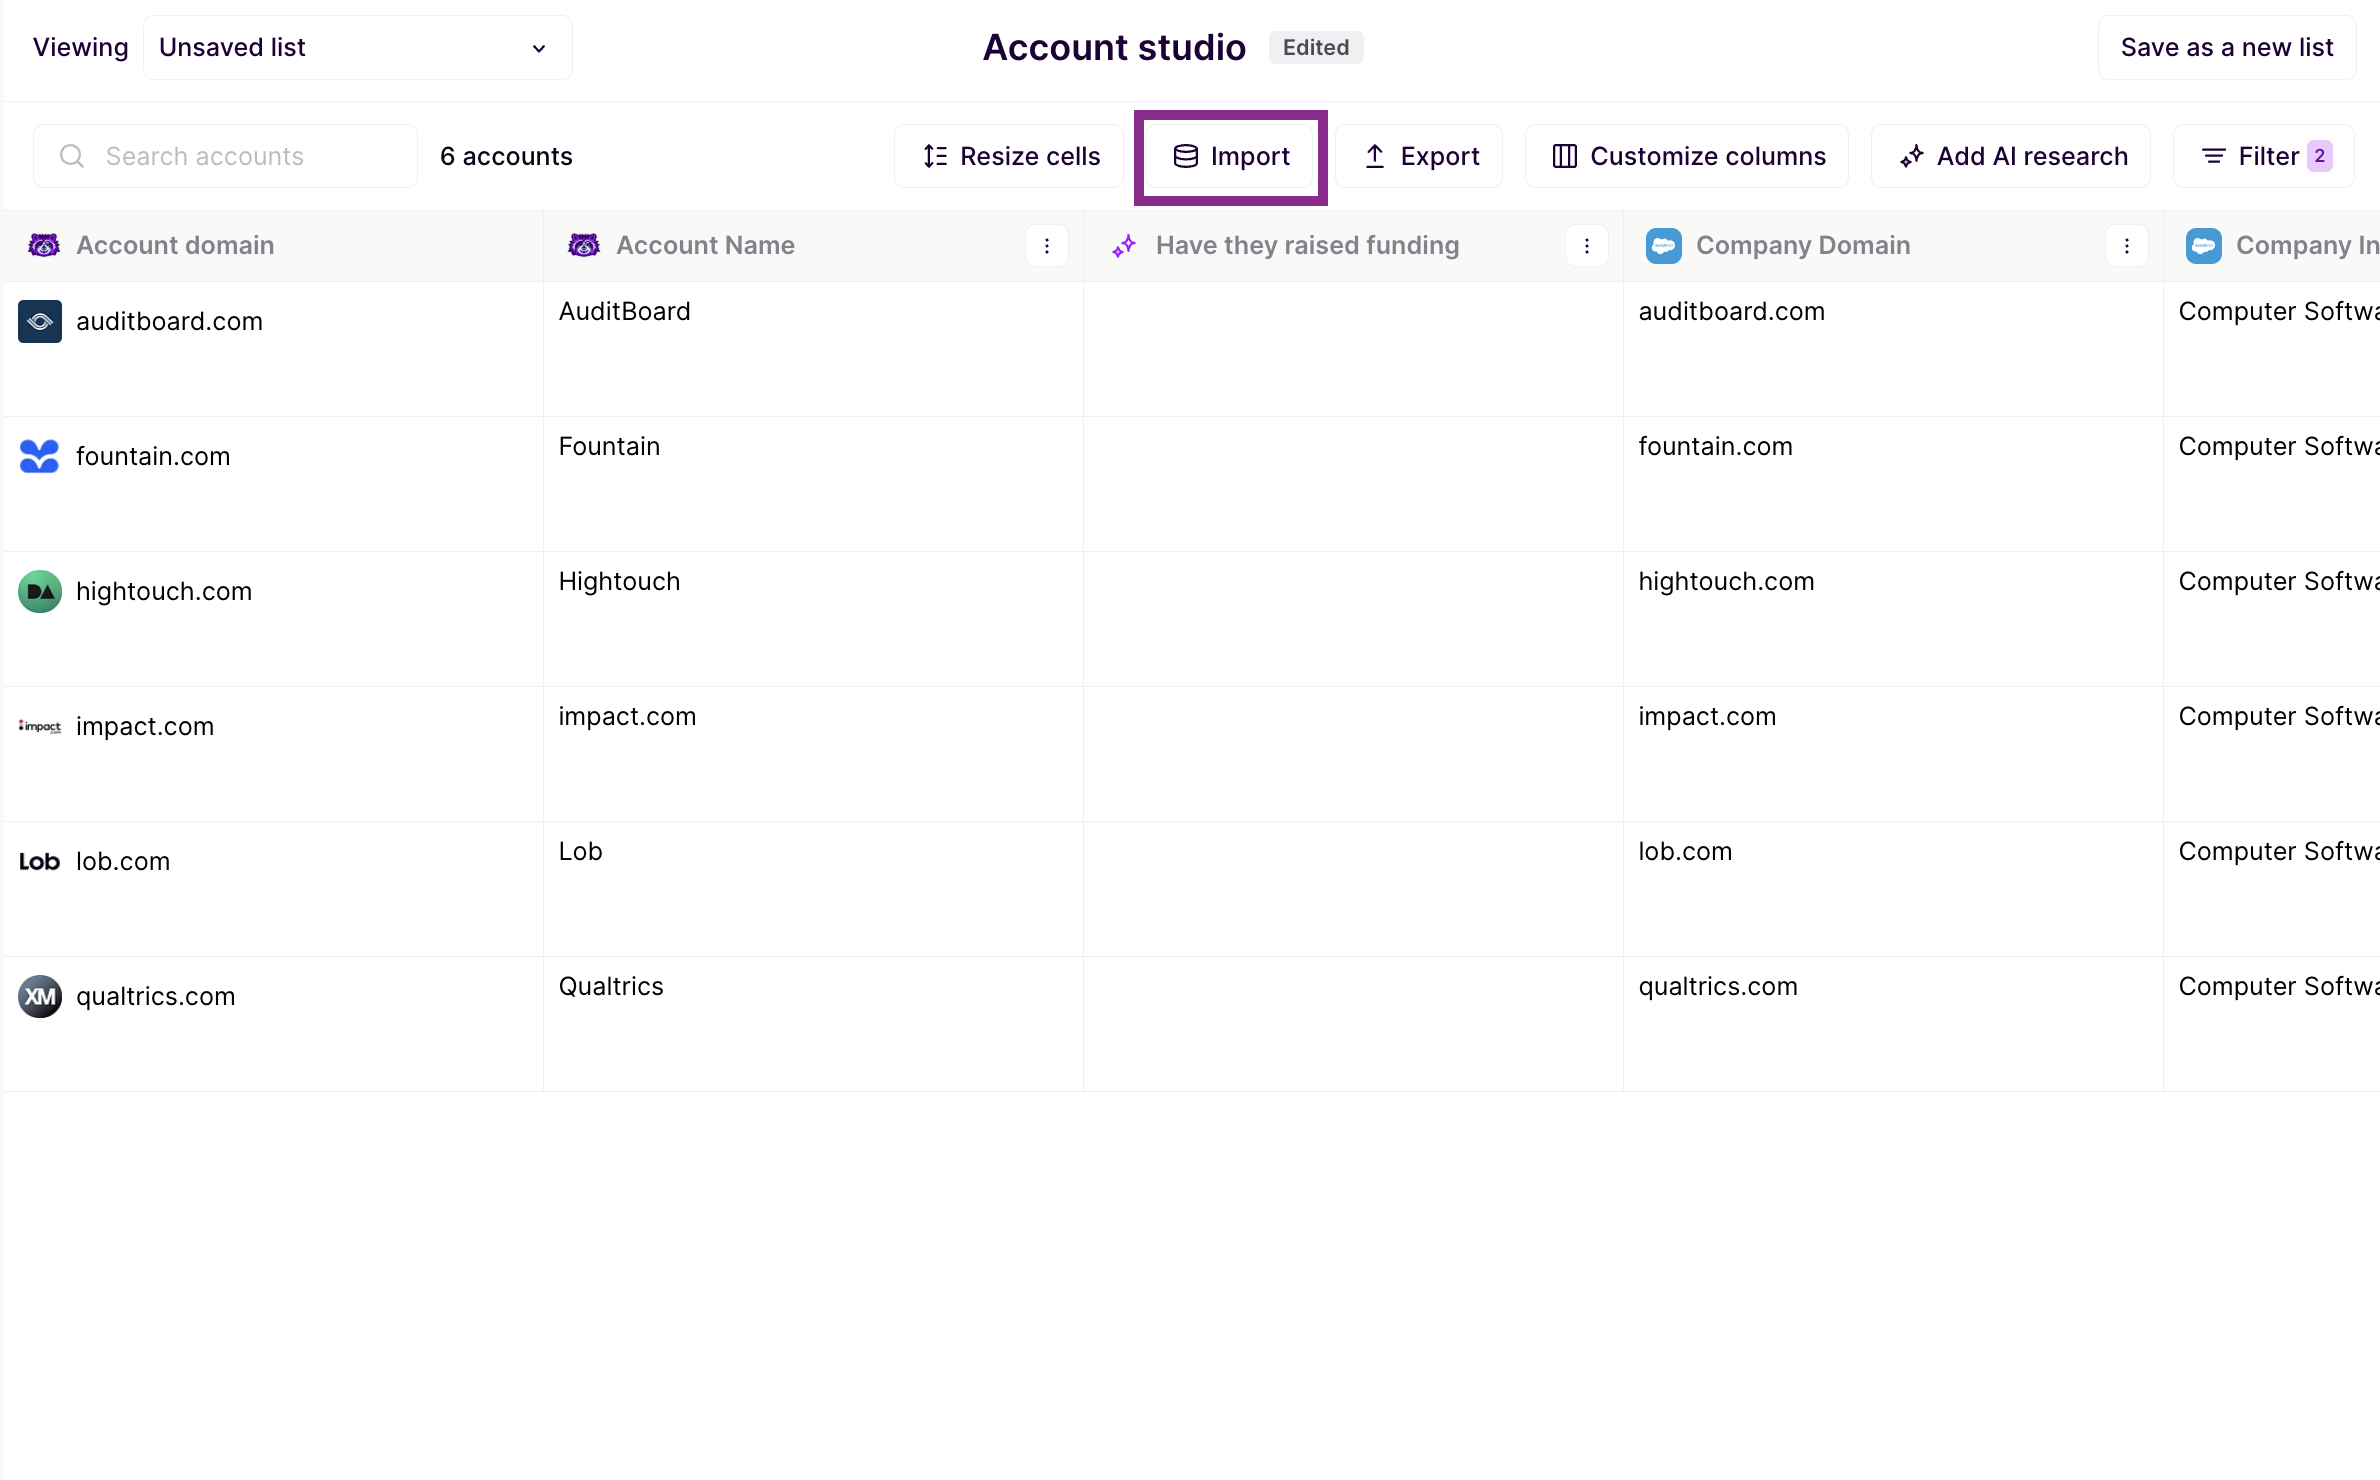
Uploading CSV Data
If you have target accounts or important data that isn't in Salesforce or HubSpot, use the CSV upload option.
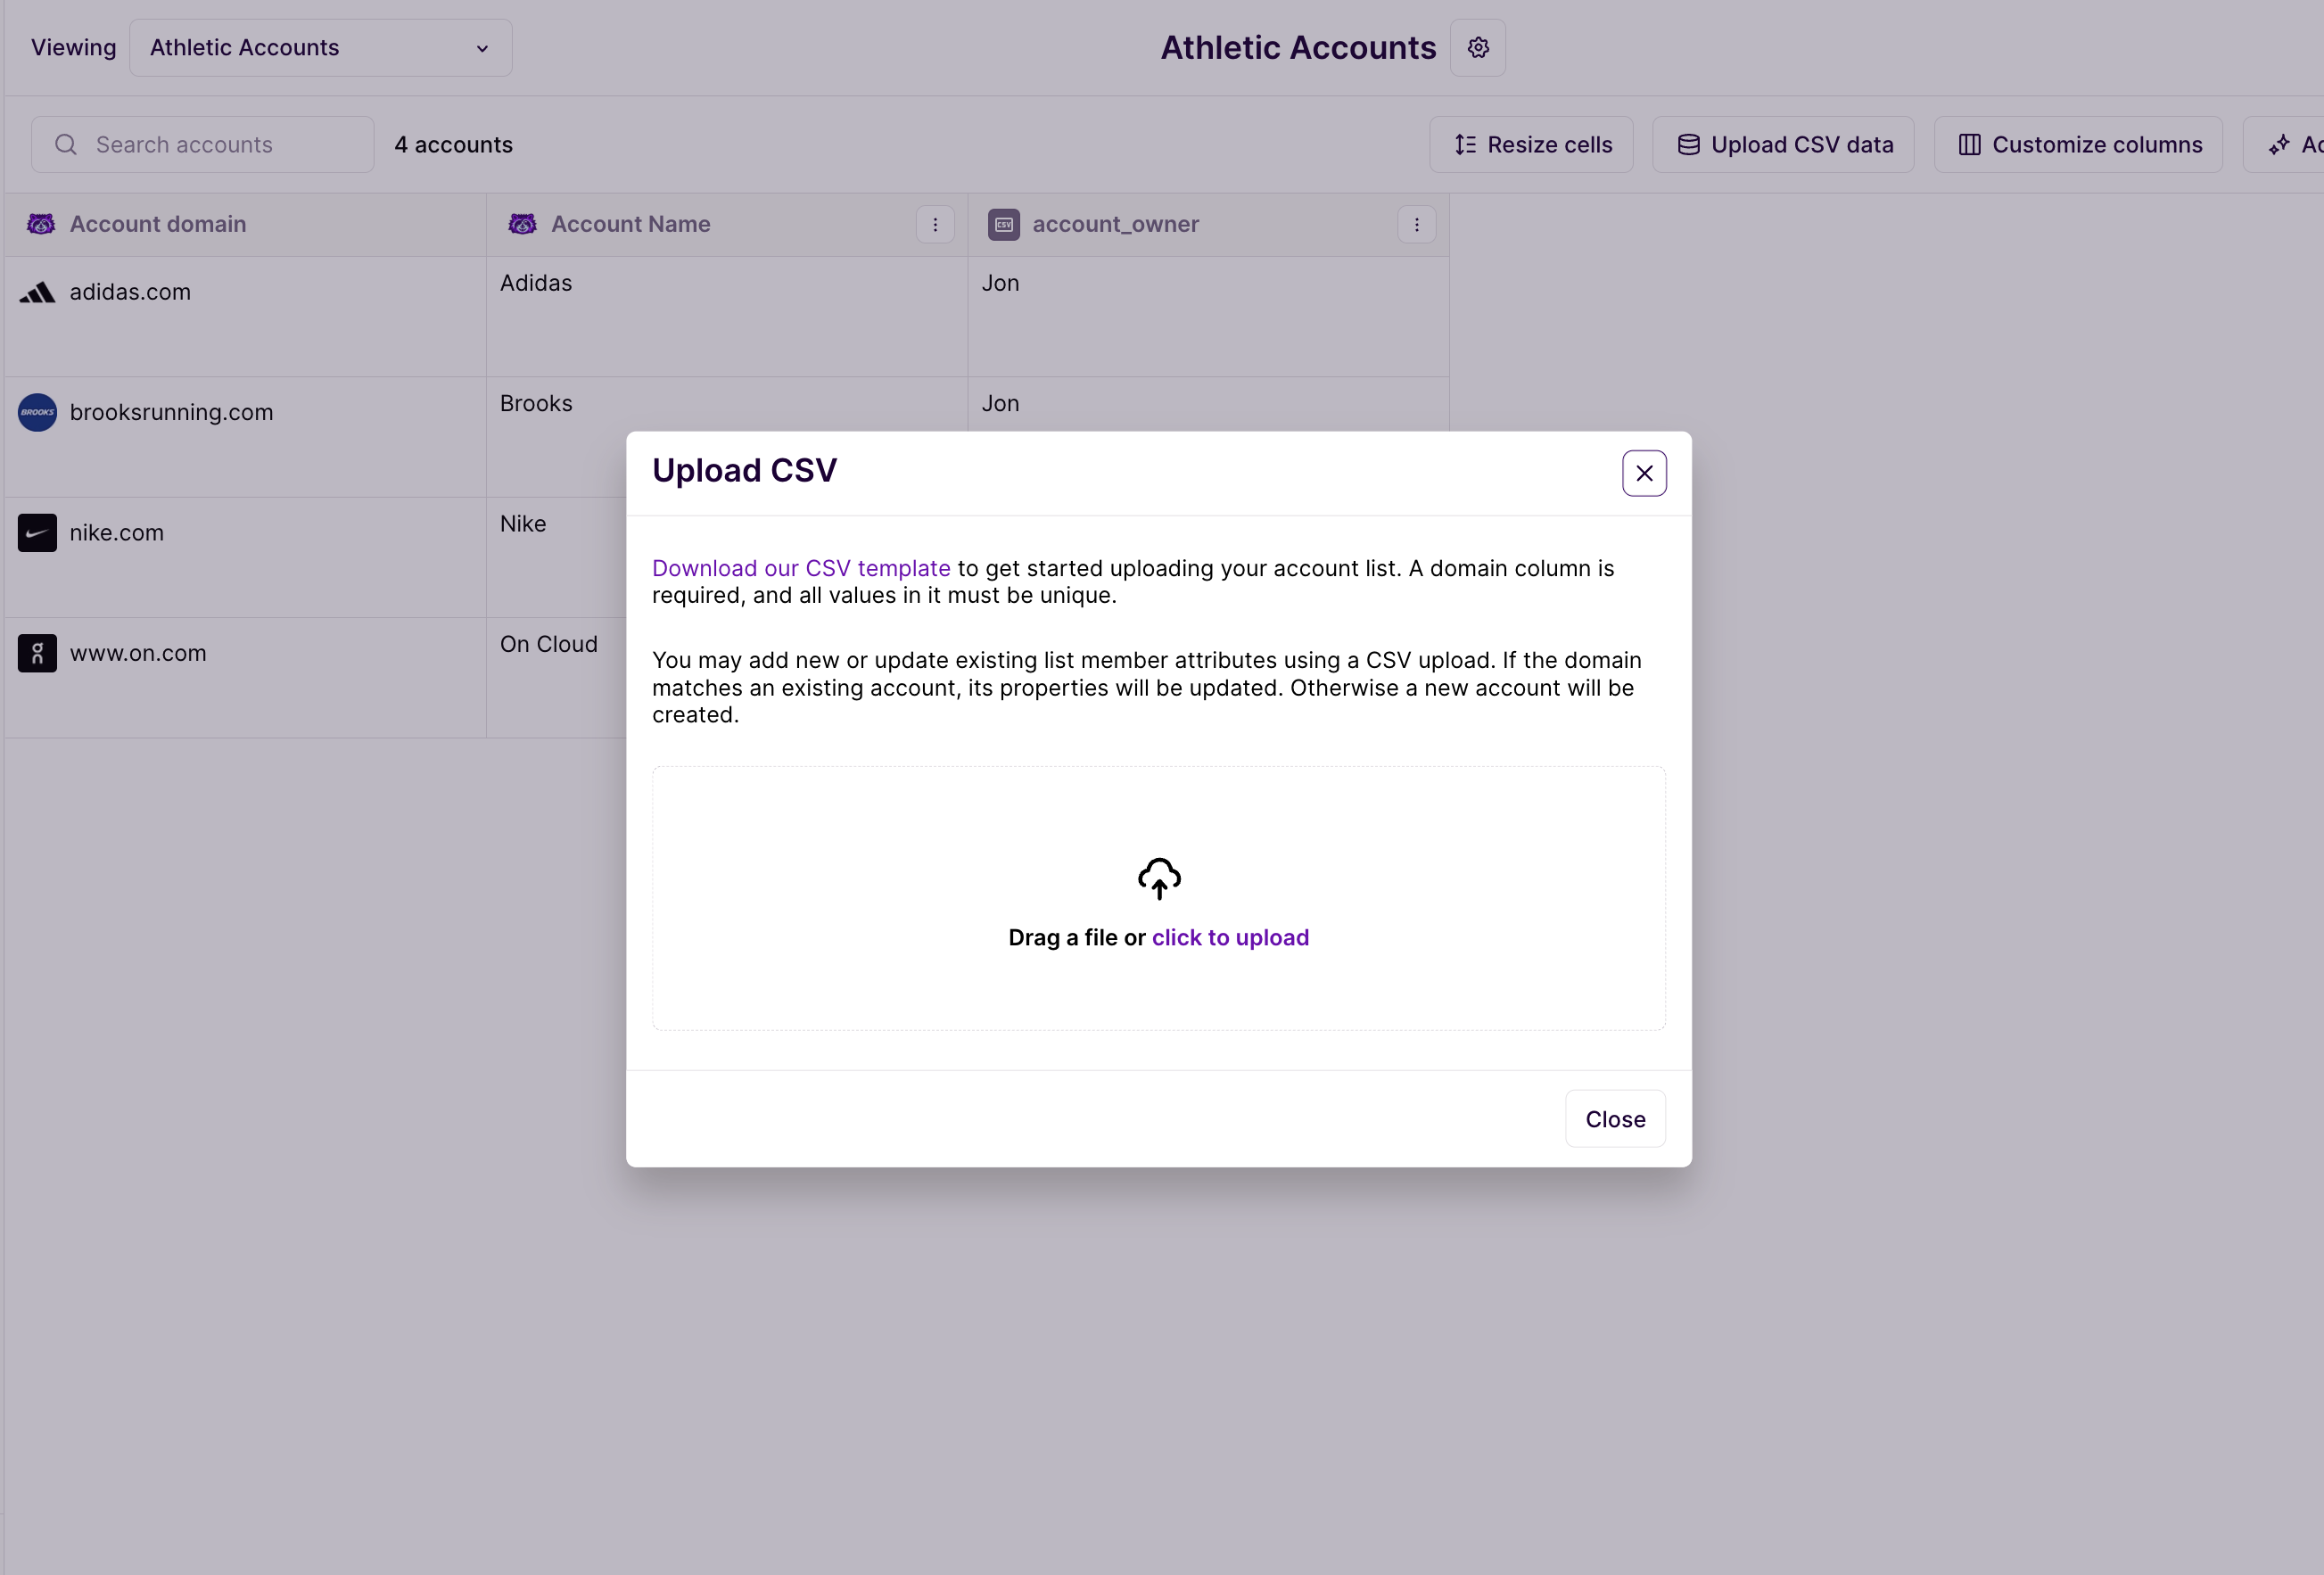
The most critical column is the domain, as it serves as the matching key Mutiny uses to identify data for each account - make this the first column in your spreadsheet.
Common CSV uploads include cleaned company names, cleaned industry classifications, account owner or AE names, calendar booking links for reps, use case or product areas of interest, and even unstructured sales notes. Don't worry if the data isn't perfect - messy company names can be cleaned with AI in the asset editor, and you can always re-upload with new rows or columns later.
Conducting AI Research
Once your list is in Mutiny, you can enrich it with AI research to fill data gaps. Click Add AI Research in Account Studio and prompt the system to research all your target accounts at once.
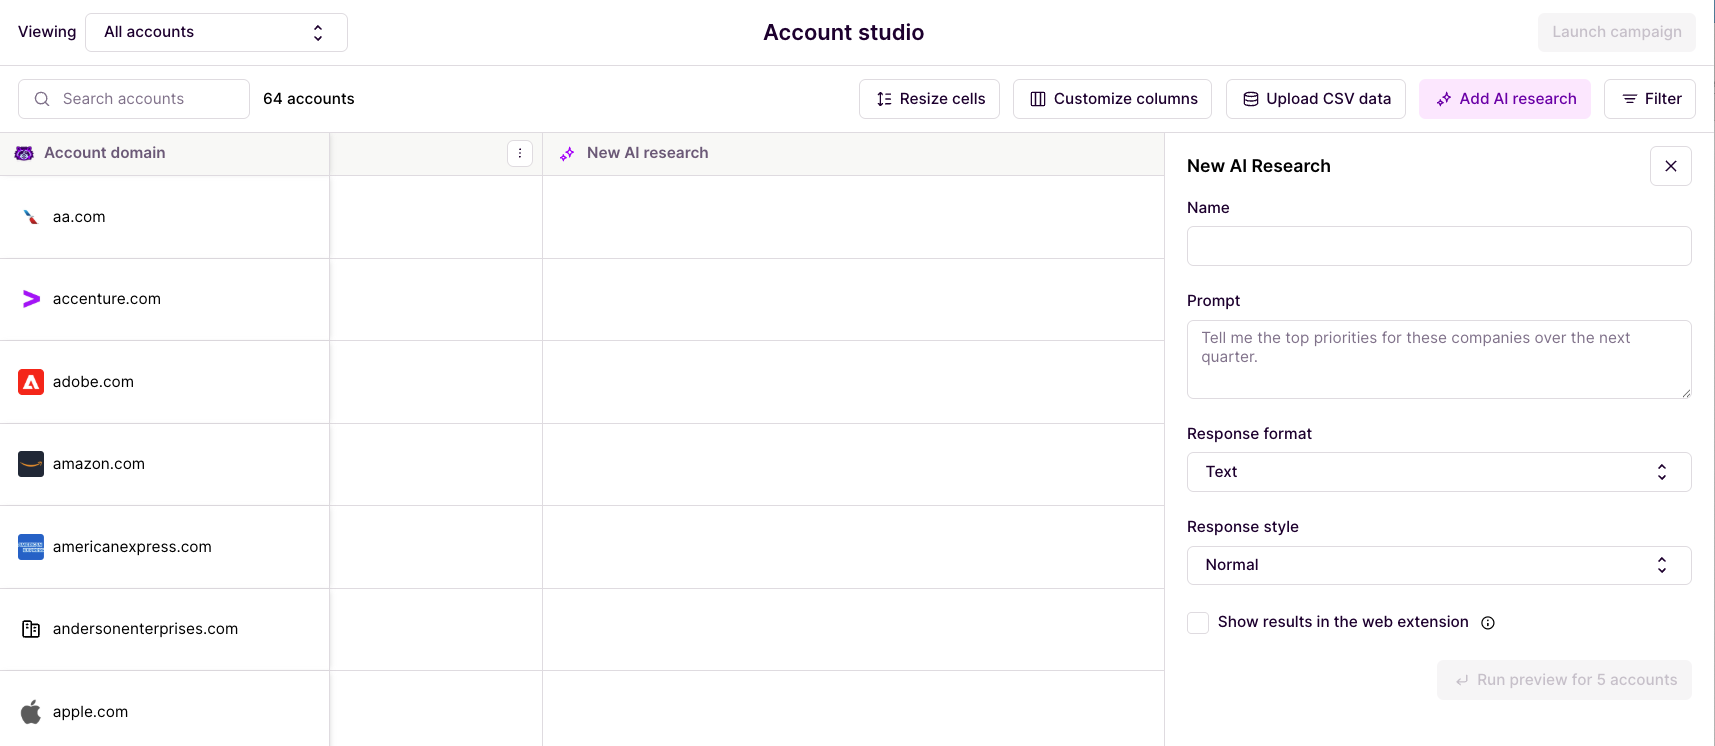
Choose from four formatting options for the output: text, true or false, number, or date. Select a response style - concise for the shortest responses, normal for moderate length, or explanatory for detailed LLM explanations with context.
For more info on AI Research in Account Studio, check out our help doc here:
Reviewing and Using Research Results
Once the research runs, review the results populated for each account. Click the info tooltip next to any result to see the rationale behind Mutiny's response, allowing you to validate the data before using it in live experiences. Save the enriched data and use these fields to either filter your list further or apply directly in personalizations on your asset pages.
The Account Studio Workflow
Think of Account Studio as a bridge between your current state and ideal personalization. Follow this workflow: imagine your ideal one-to-one page, identify what data is missing to make it real, use AI research to cover that gap, and then turn that data into personalized experiences. This loop unlocks significant potential in your one-to-one pages, especially when your CRM data is incomplete or inconsistent.
Need Help?
If you have questions or need help, the Mutiny Support team is here for you! You can submit a support ticket using the Submit a ticket button at the top of this page, or reach us at support@mutinyhq.com.