This article content is for personalizations on your existing website. Looking to build 1:1 Mutiny-hosted microsites for your target accounts? Visit our Campaigns help docs here.
Behavioral attributes in an audience segment can be used to deliver personalized experiences to your visitors based on their behavior on your site.
For example, if you serve multiple industries and a visitor visits, say the "Aviation" industry page, you can personalize content on other pages to resonate with this visitor.
Categorizing Behavior
To understand the visitor, we can categorize their behavior into three primary buckets -
- Website browsing history - which pages have they visited, how many times have they been on the site, time spent on a page etc.
- Website engagement - any marketing collateral that the visitor has downloaded, have they previously signed up, registered for a webinar etc.
- Explicit survey - asking the visitor upfront (via Mutiny's overlay components) what use case they are interested in or their buying stage.
Behavioral Attributes
Whether creating a new audience segment via experience creation flow or editing an existing audience segment, you can add behavioral attributes by clicking on "Add Attribute", then under "Visitor Activity", click into "Behavior" - You'll then see these attributes:
- Visited URL
- Session Number
- Conversion Event
- Viewed Component
- Answered Component (if you have a live Side Pop or Modal)
Let's dive into each and see how it works.
Visited URL
This allows you to use the URLs that the visitor has been to to infer their use case, buying stage, persona/role or industry vertical.
Within the "Visited URL" attribute, the following options are available to you -
- Multiple pages can be selected at once
- You can use is, is not, contains or does not contain to target different segments
- Page visited can be combined with UTM parameters for full flexibility
- Page visited can be combined with Number of Occurrences to specify how many times the page(s) would need to be viewed to qualify for the segment
Session Number
This is useful to personalize for new vs returning visitors.
A popular use case is to show a welcome back message for visitors with >= 2 sessions. You can also use this to show a different value proposition on each session.
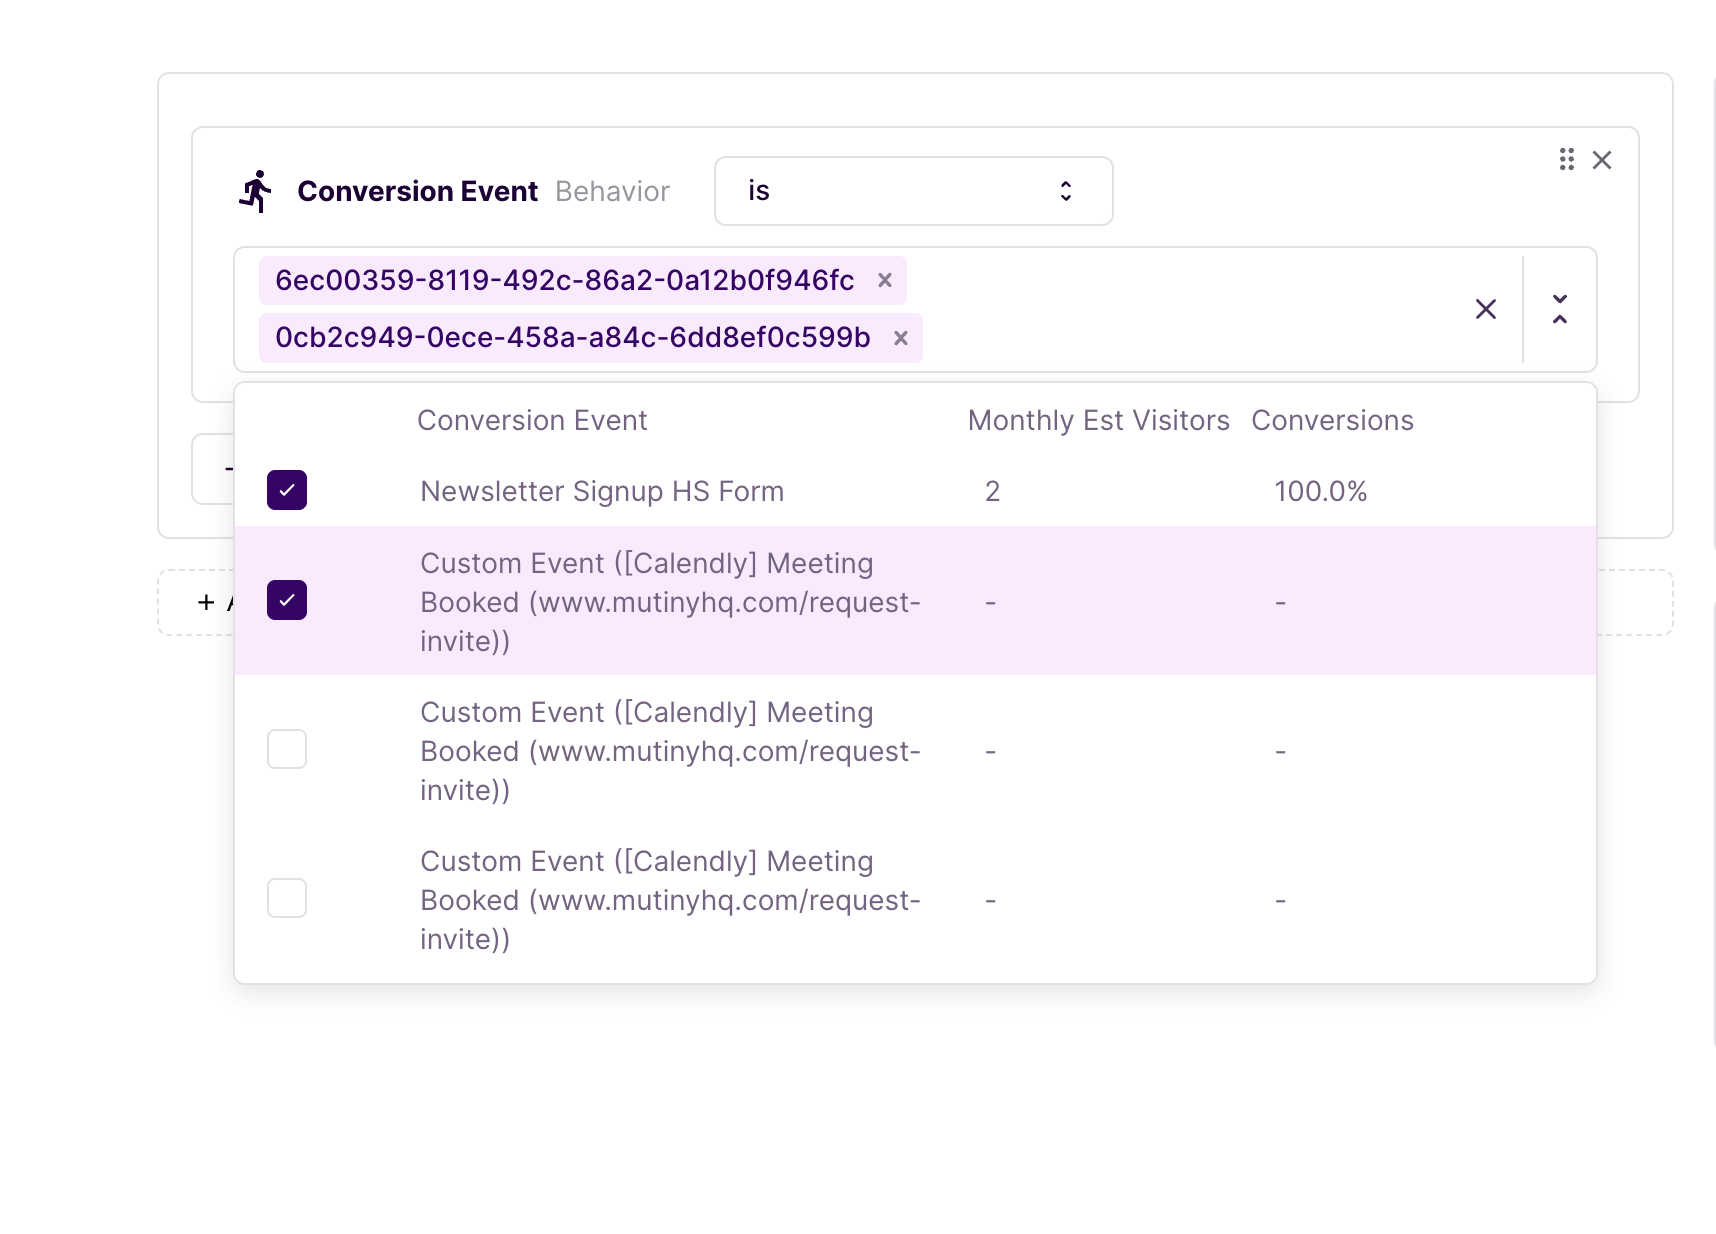
Conversion Event
This attribute enables personalization based on actions the visitor has taken on the site.
For example, if the visitor has already downloaded a case study, you can push the next relevant piece of content. Or if they have signed up for your free trial, you can change main CTA from "Sign up" to "Upgrade" or "Request Demo".
 Viewed Component
A slightly advanced personalization attribute where you can show a different experience depending on the one they have previously seen.
As an example, if the visitor has already seen your banner promoting the white paper and did not take any action, you can promote a different collateral on the next page they visit.
Answered Component
This allows you to create a personalized experience based on the user's answer to the component questionnaire (read this article to learn how to configure components).
For example, you can launch a component on your website to ask the user whether their use case is A, B or C. You can then personalize your website content to focus on the use case the visitor answers.
Next steps
If you have already dropped Mutiny's script on your site, no additional configuration is needed to start using behavioral targeting. Just click here to go to the segment creator and start exploring the world of behavioral based personalization.
Need Help?
If you have questions or need help, the Mutiny Support team is here for you! You can submit a support ticket at the bottom of this page or reach us at support@mutinyhq.com.
Related to
Comments
0 comments
Please sign in to leave a comment.