How to Install and Setup the Mutiny Web Extension
Last updated: April 9, 2026
This is an enterprise-only feature. Interested in upgrading to an enterprise plan? Reach out to the sales team here: https://www.mutinyhq.com/talk-to-sales
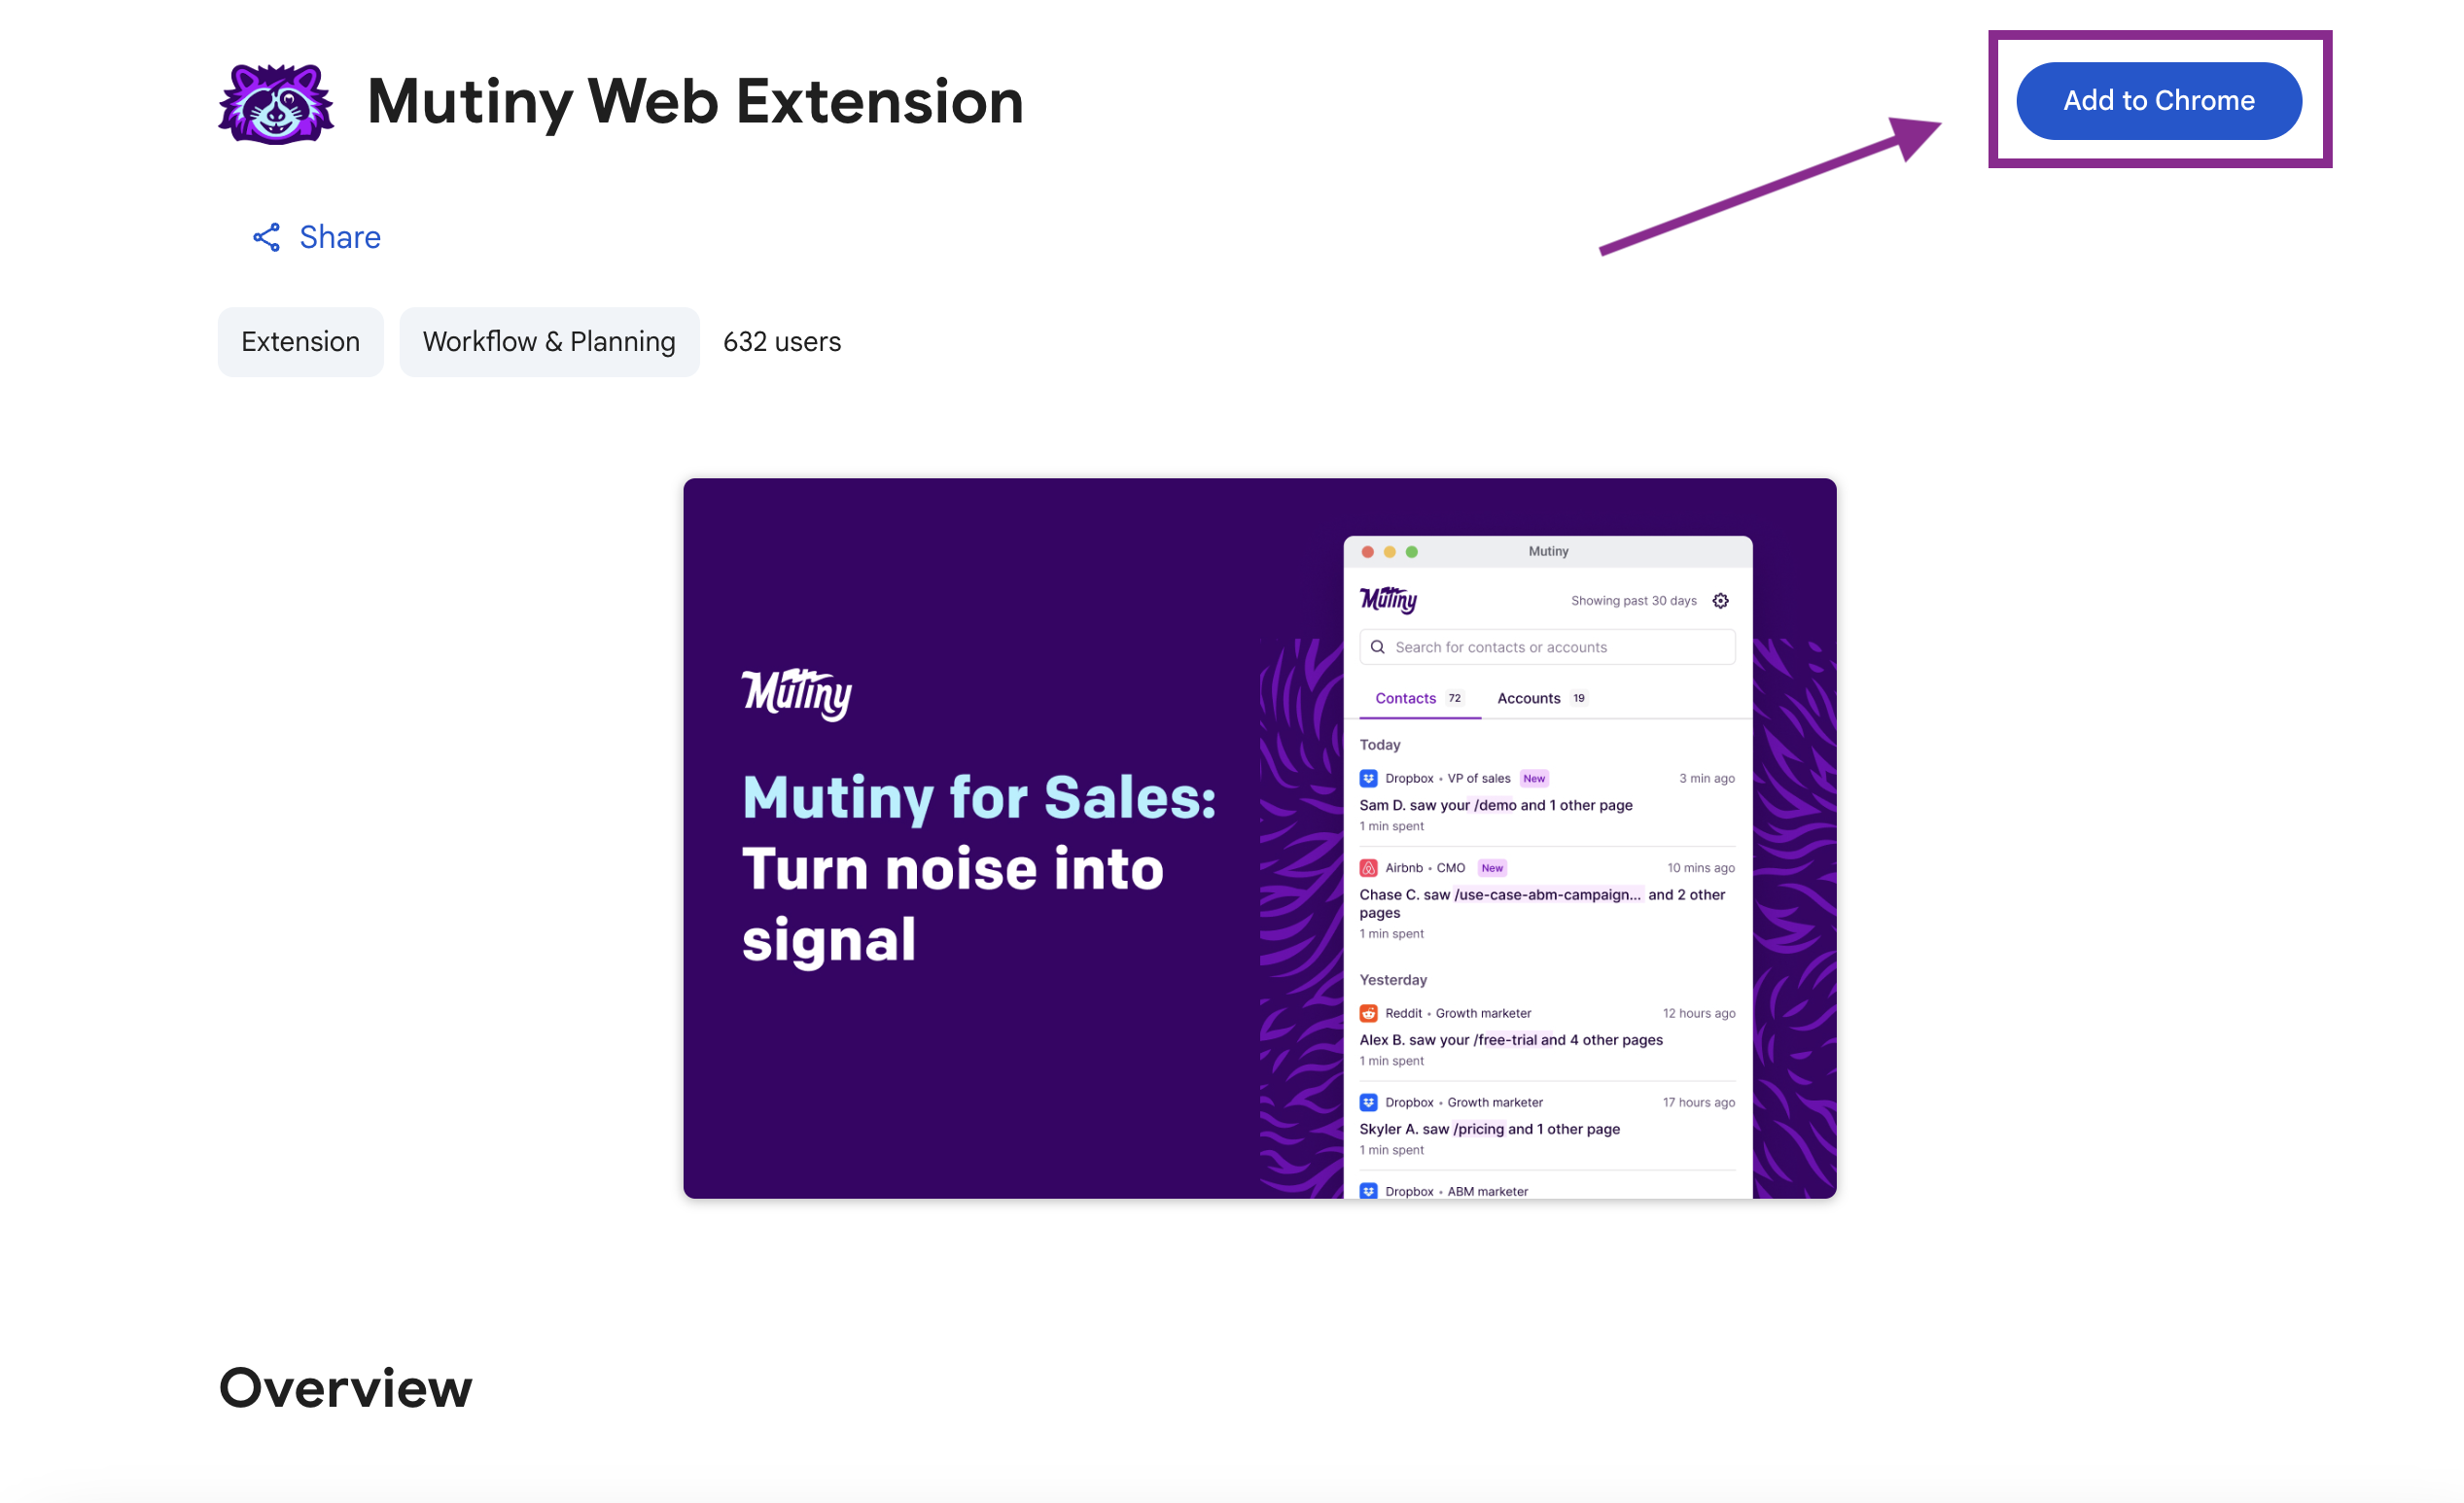
Step 1 - Download the Mutiny Web Extension from the Chrome Web Store
You can find the Mutiny extension from the Chrome Web Store here. Select "Add to Chrome" to install
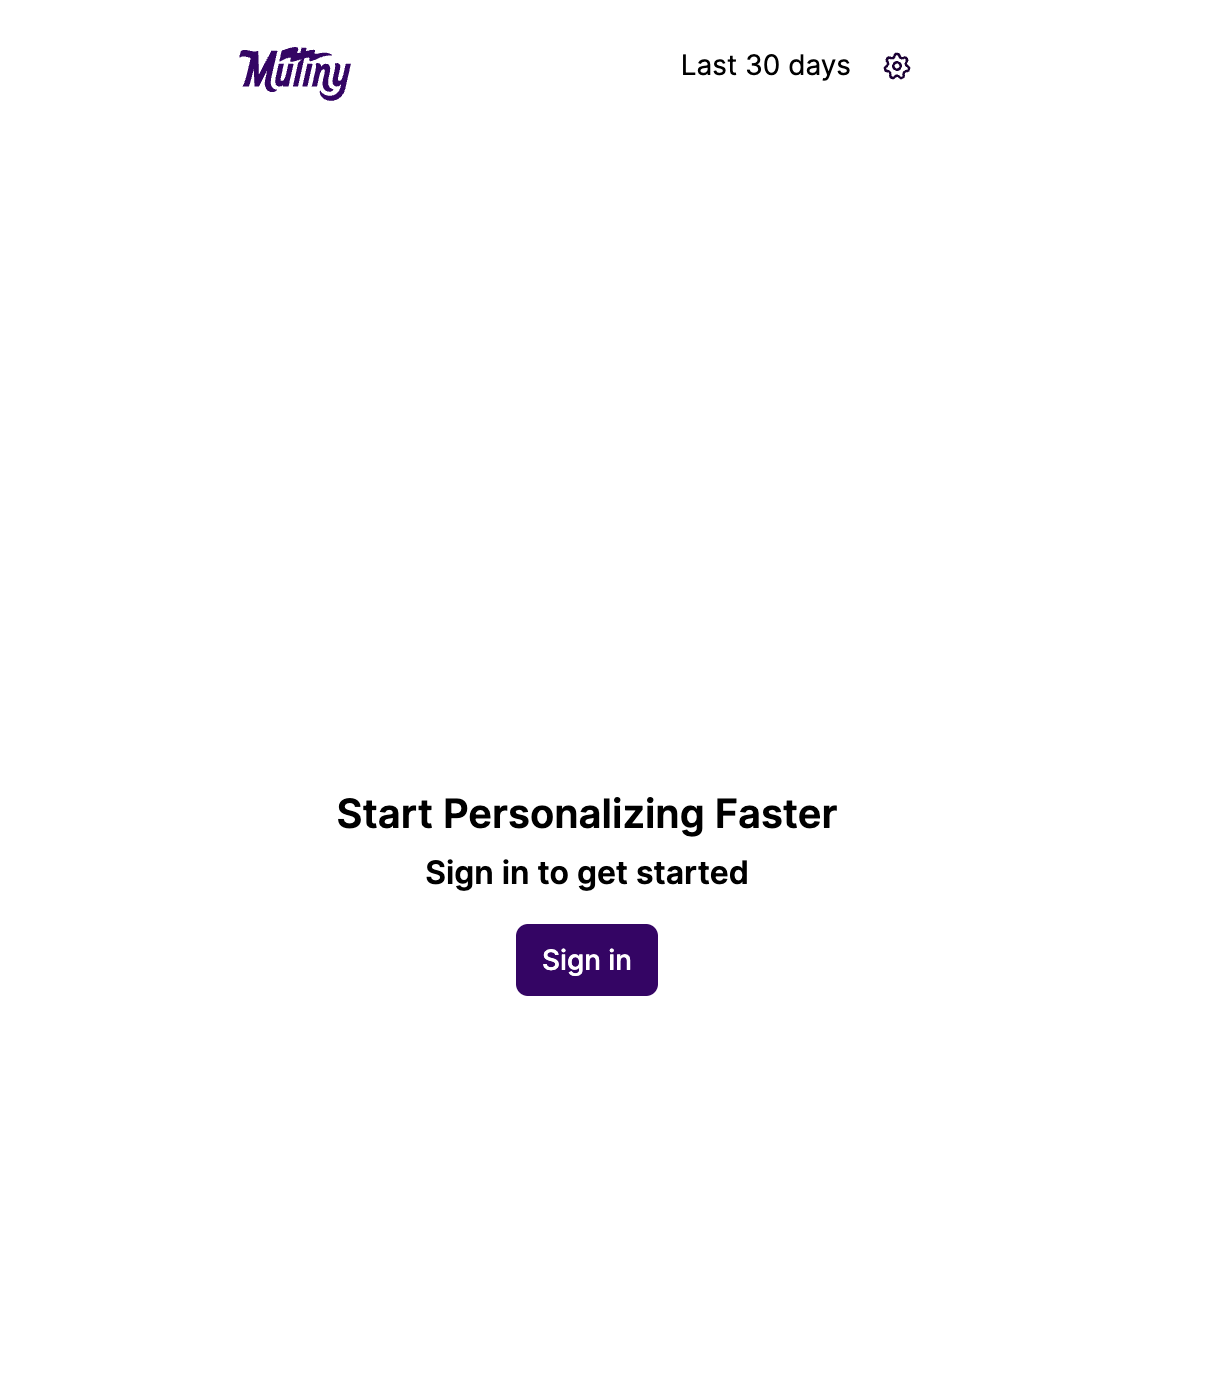
Step 2 - Log in to the Mutiny Web Extension
After adding the extension to Chrome, the Mutiny Web Extension will automatically open and prompt you to sign into your Mutiny account.
Step 3 - Define your target accounts
Once you are logged in, you'll be able to define your target accounts. Mutiny will display and notify you about the web activity for only these accounts.
By default, Mutiny uses the accounts that you own as your target accounts. However, you can further refine your target accounts by adding filters. You can filter your target accounts using any account data that you have mapped into Mutiny from your CRM, marketing automation tools, and other data sources.
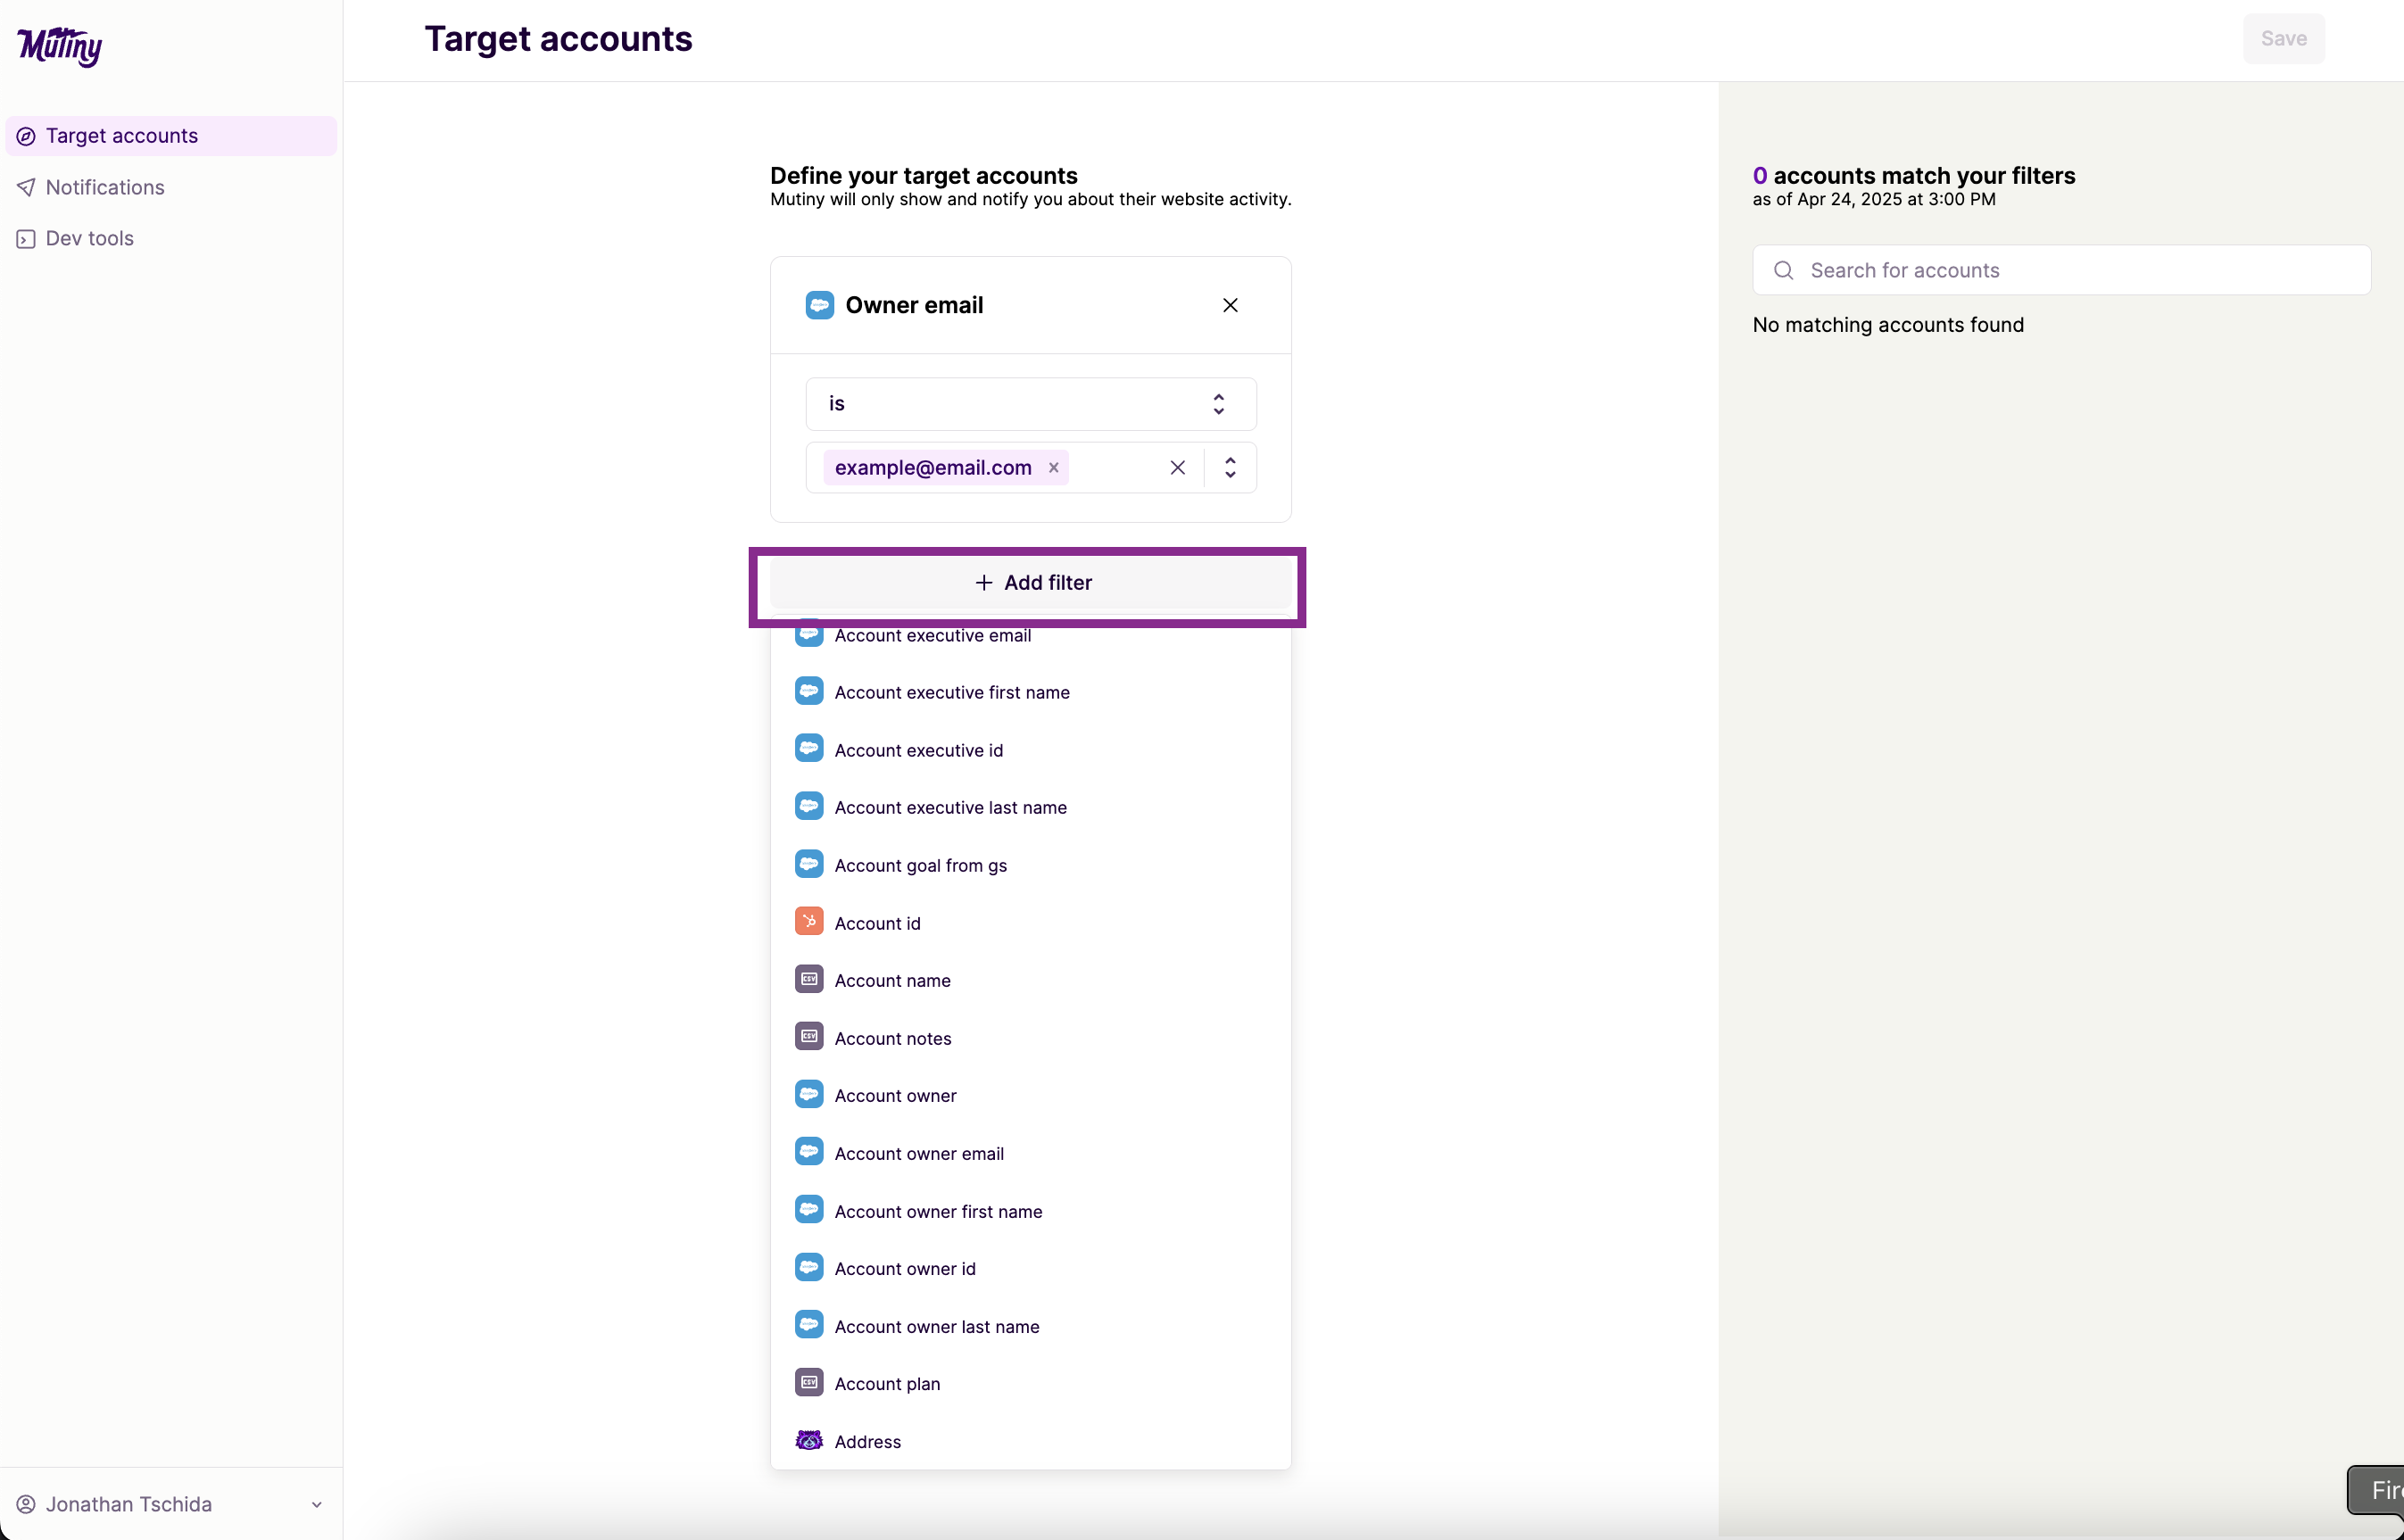
Hit "Save" when you have set up your target accounts.
Need Help?
If you have questions or need help, the Mutiny Support team is here for you! You can submit a support ticket using the Submit a ticket button at the top of this page, or reach us at support@mutinyhq.com.